Items are the foundation of your menu. In the GRUBBRR Portal, various settings allow you to configure items in a way that suits your business. In this article, we'll walk you through some of the basics of item management and creation.
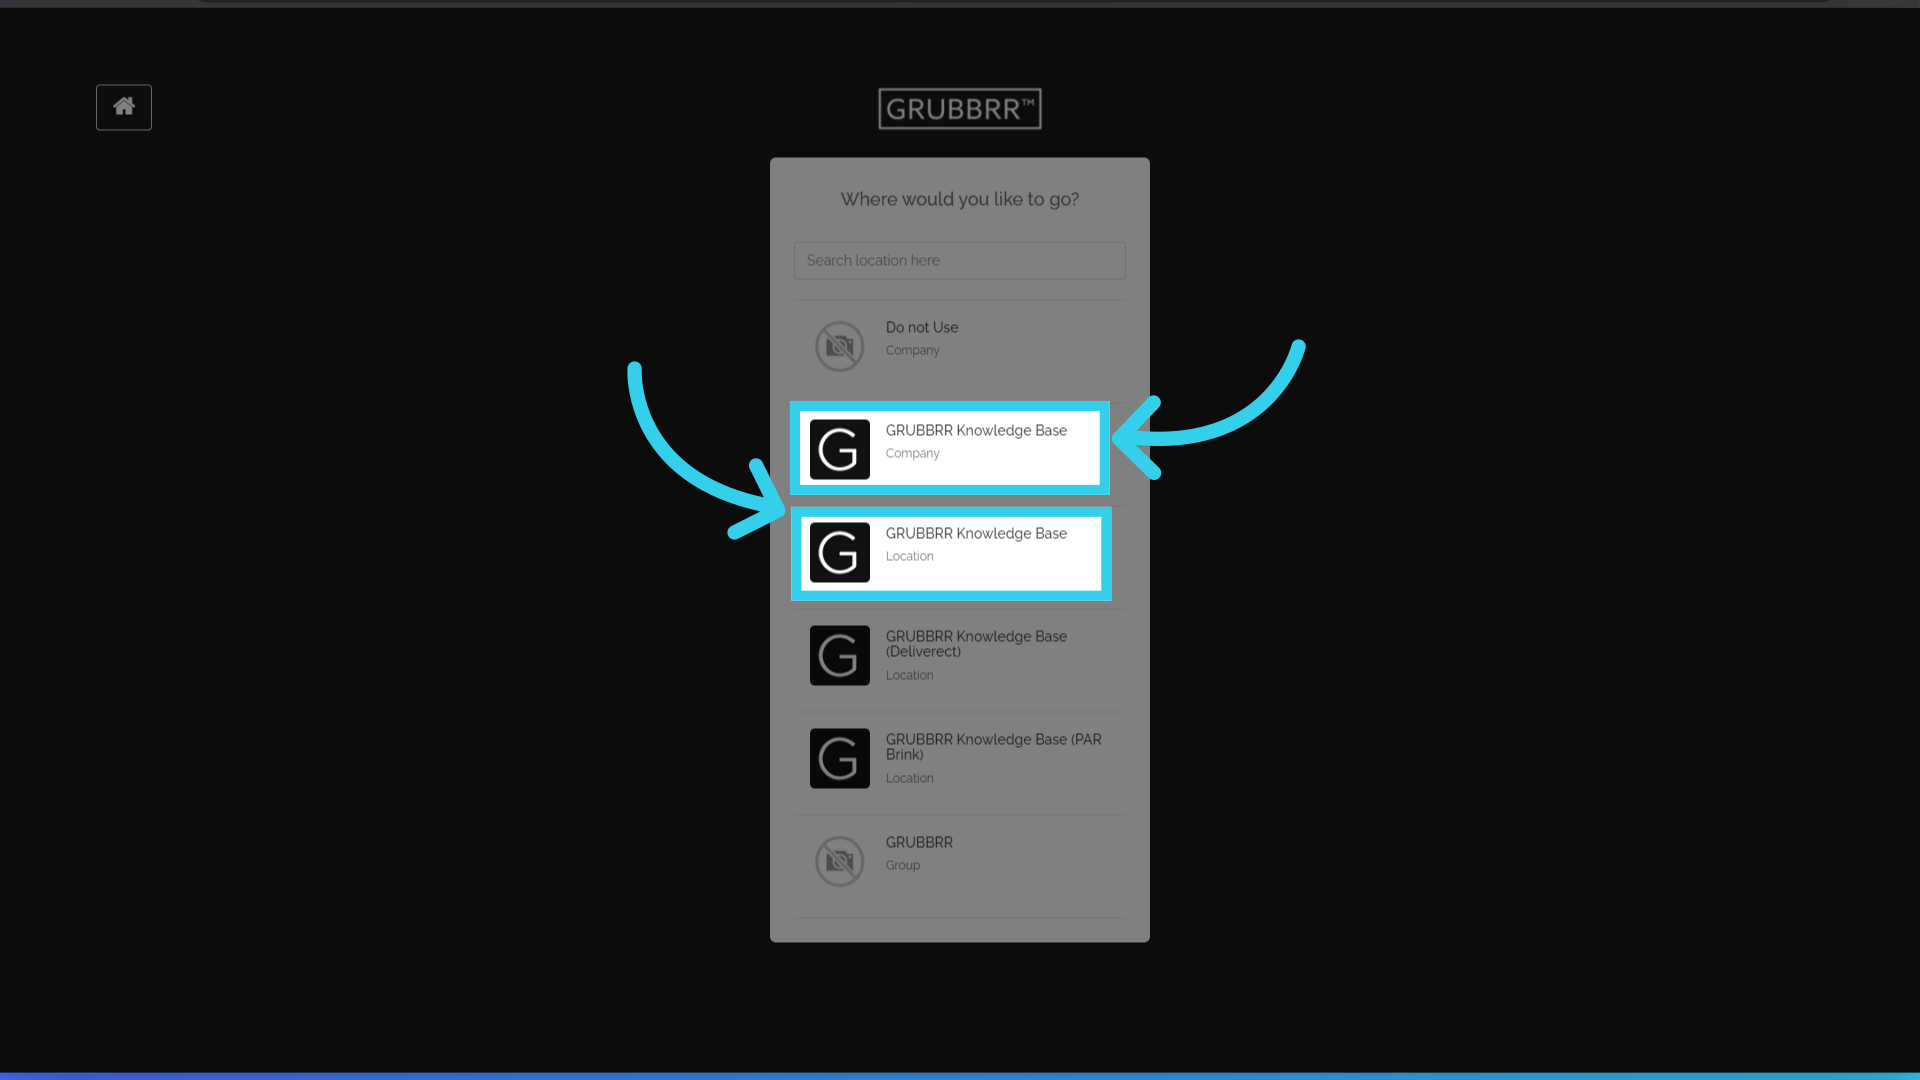
1. Items can be managed at the Company or Location level
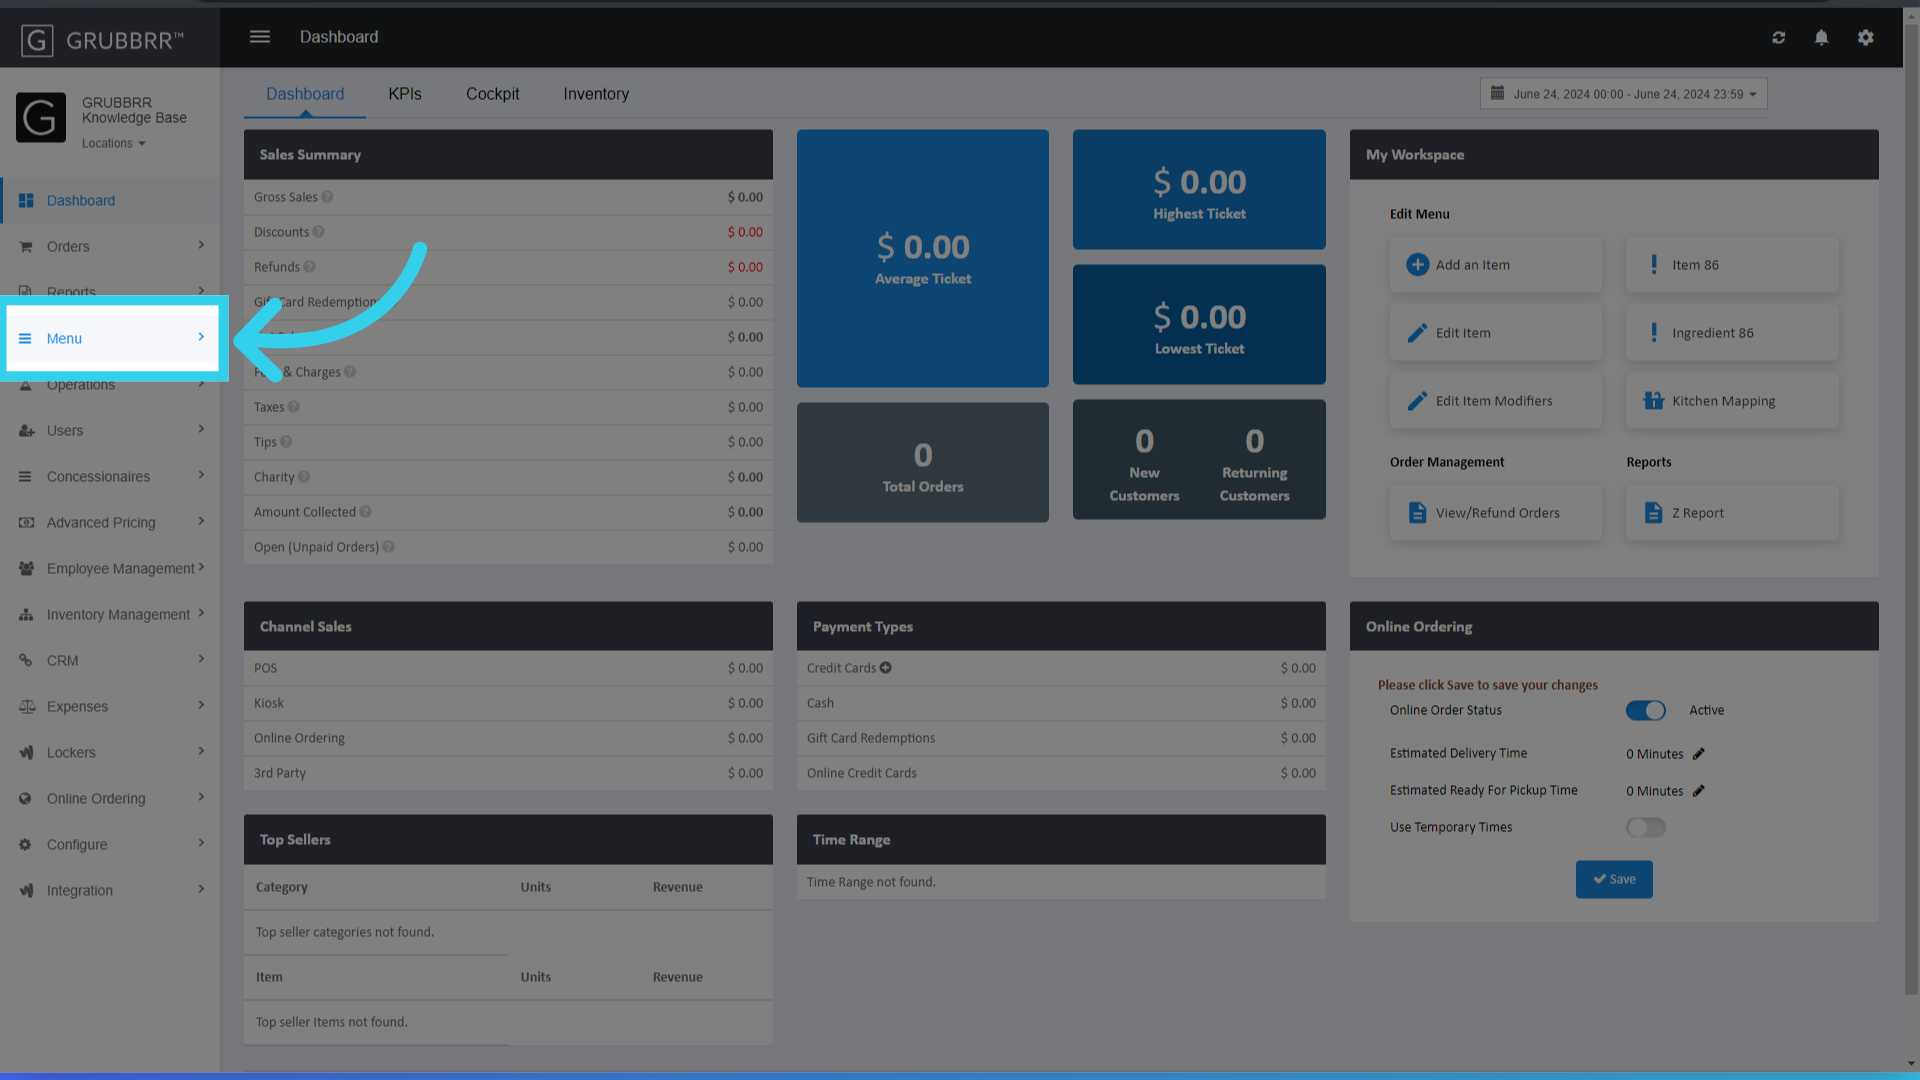
2. Click "Menu"
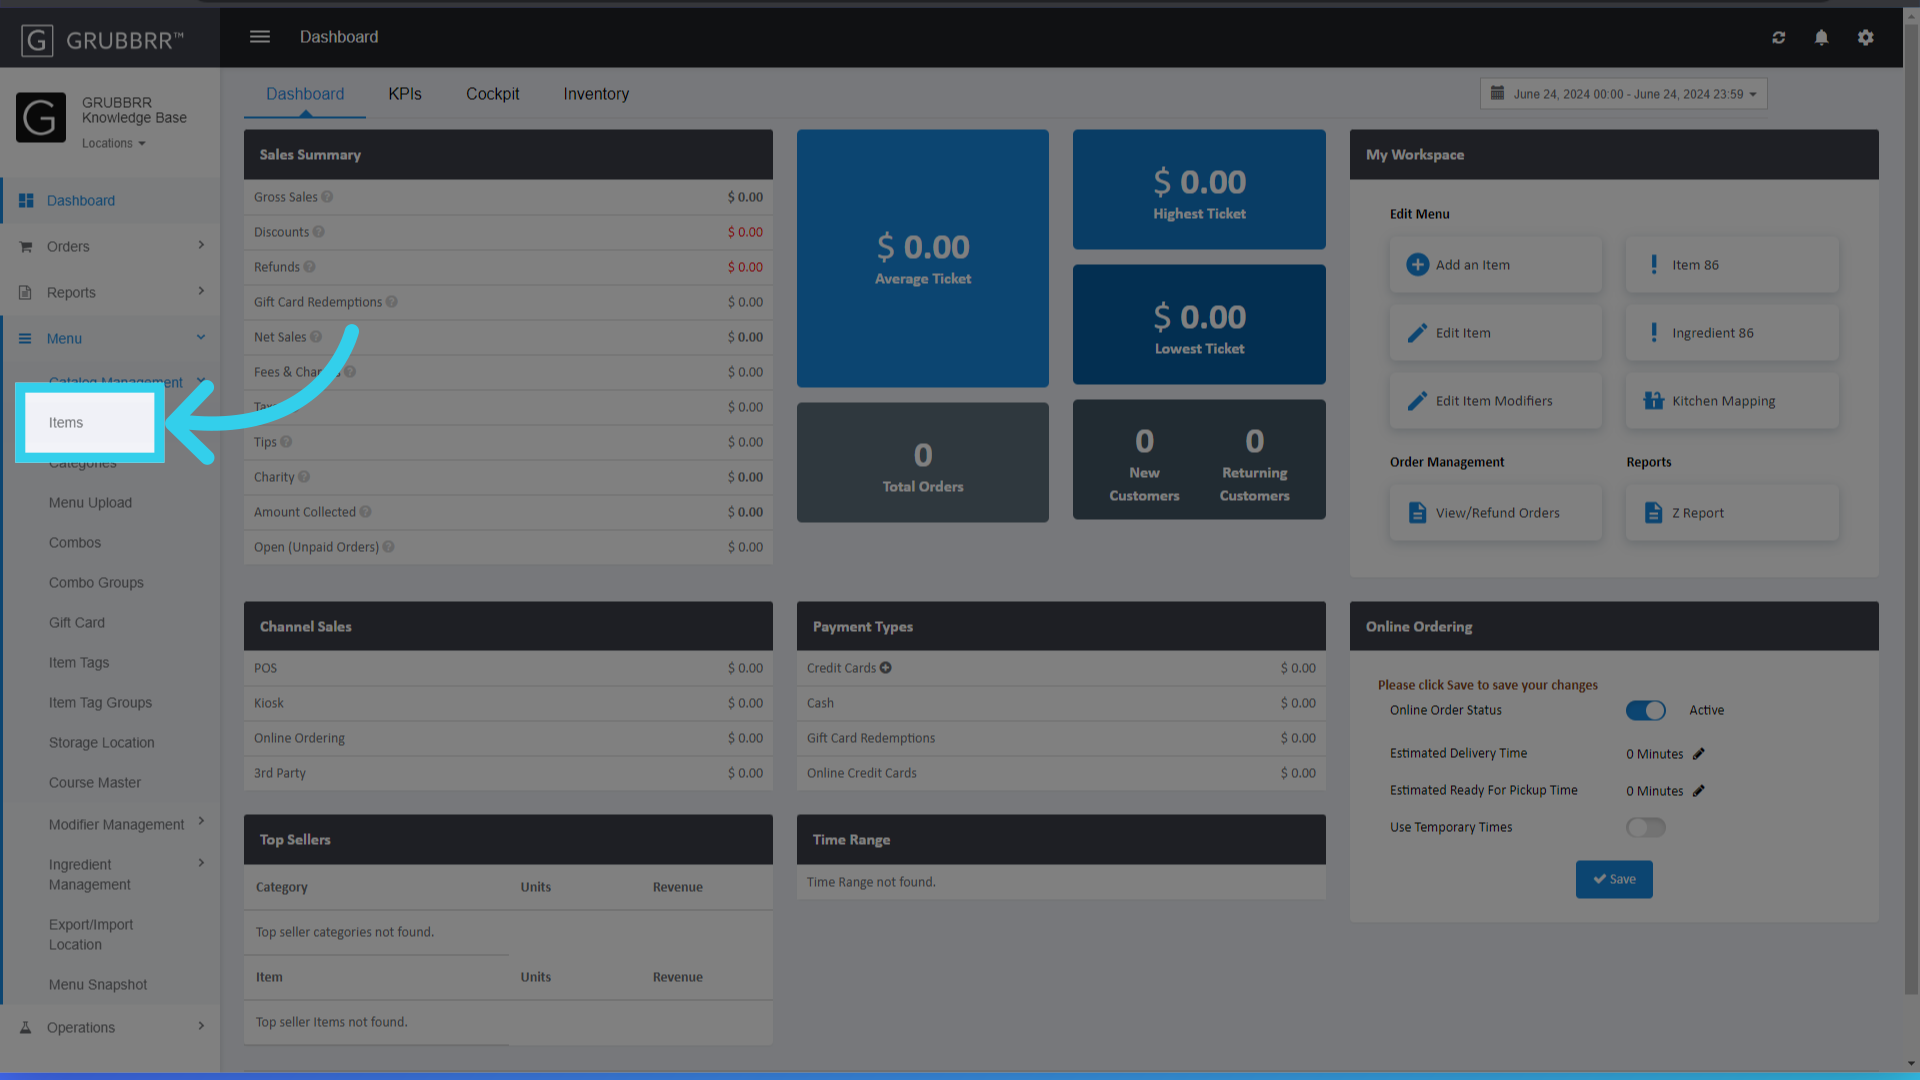
3. Click "Catalog Management"

4. Click "Items"
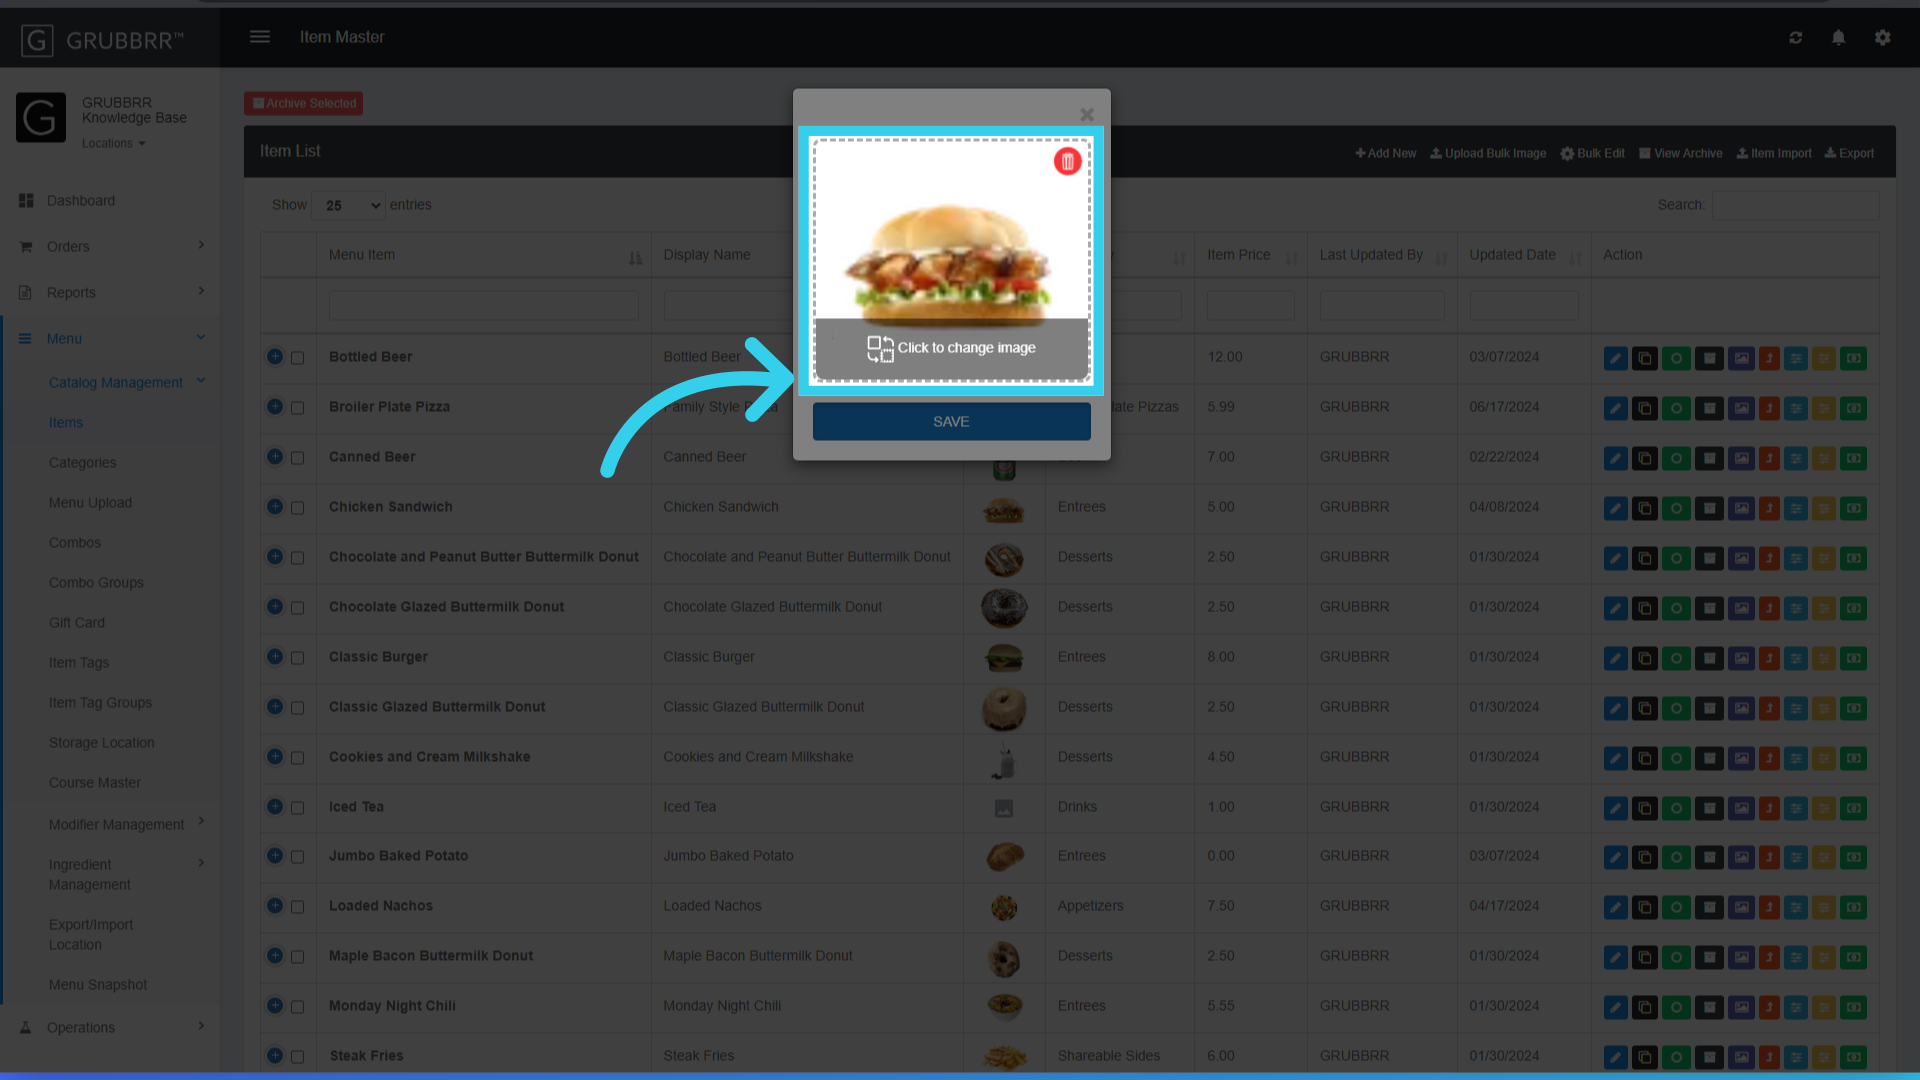
5. Click "Image" to change the item's image in your Kiosk menu
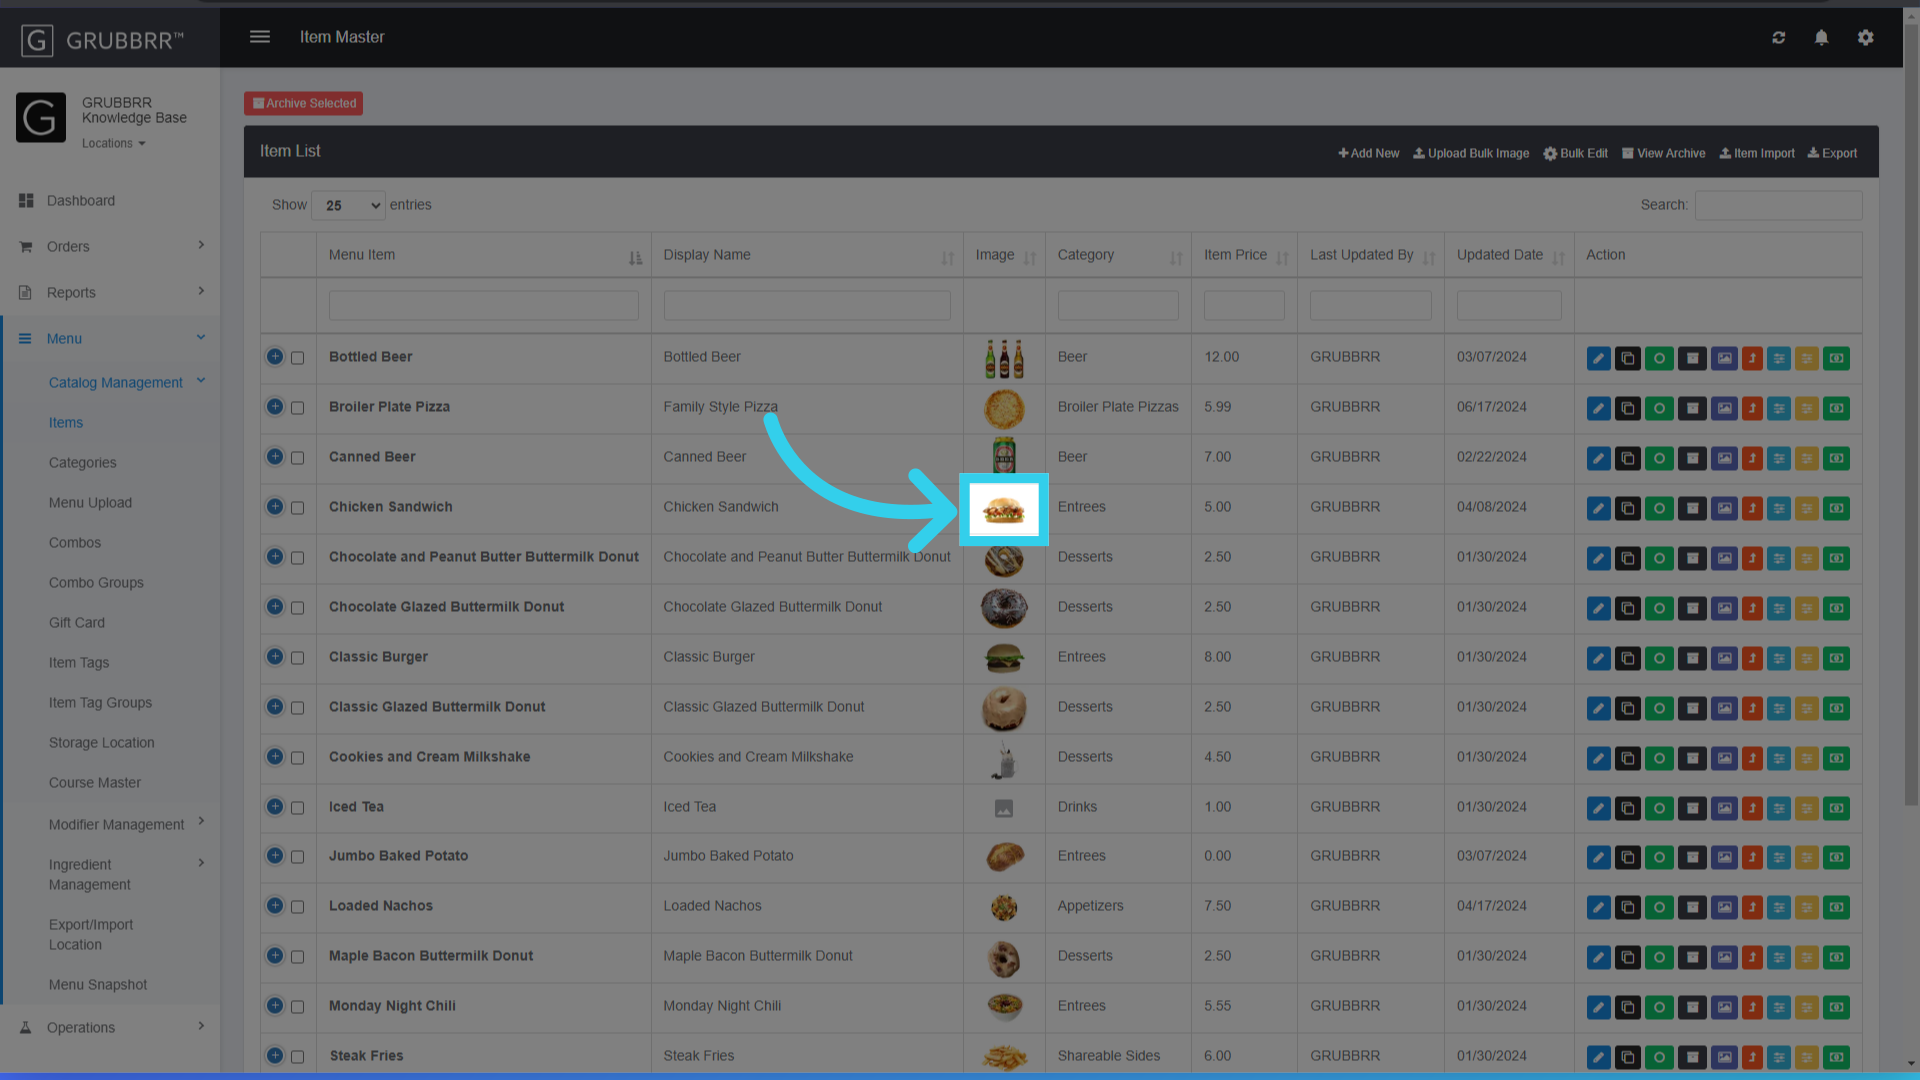
6. Images can be .jpg, png, or .gifs and must be at least 400x400 pixels to display properly on your device
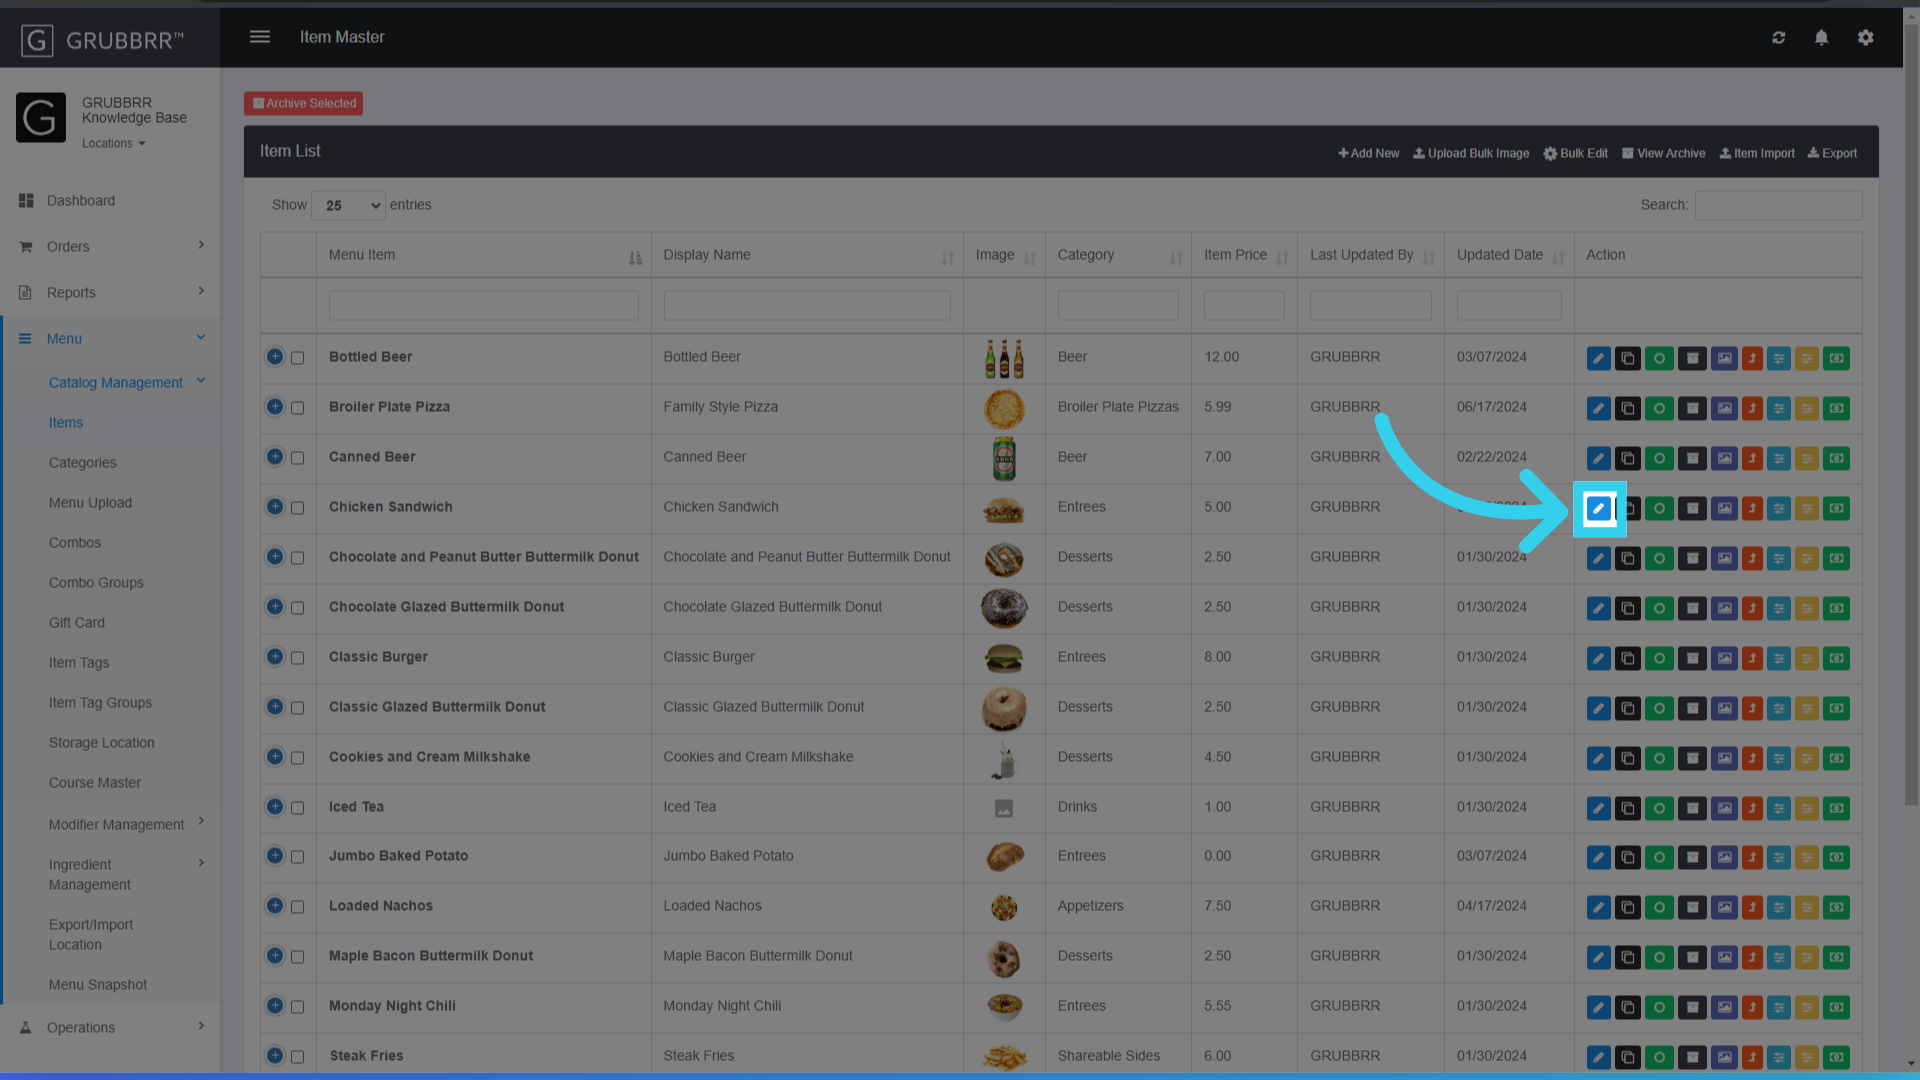
7. Click "Edit" to change item details
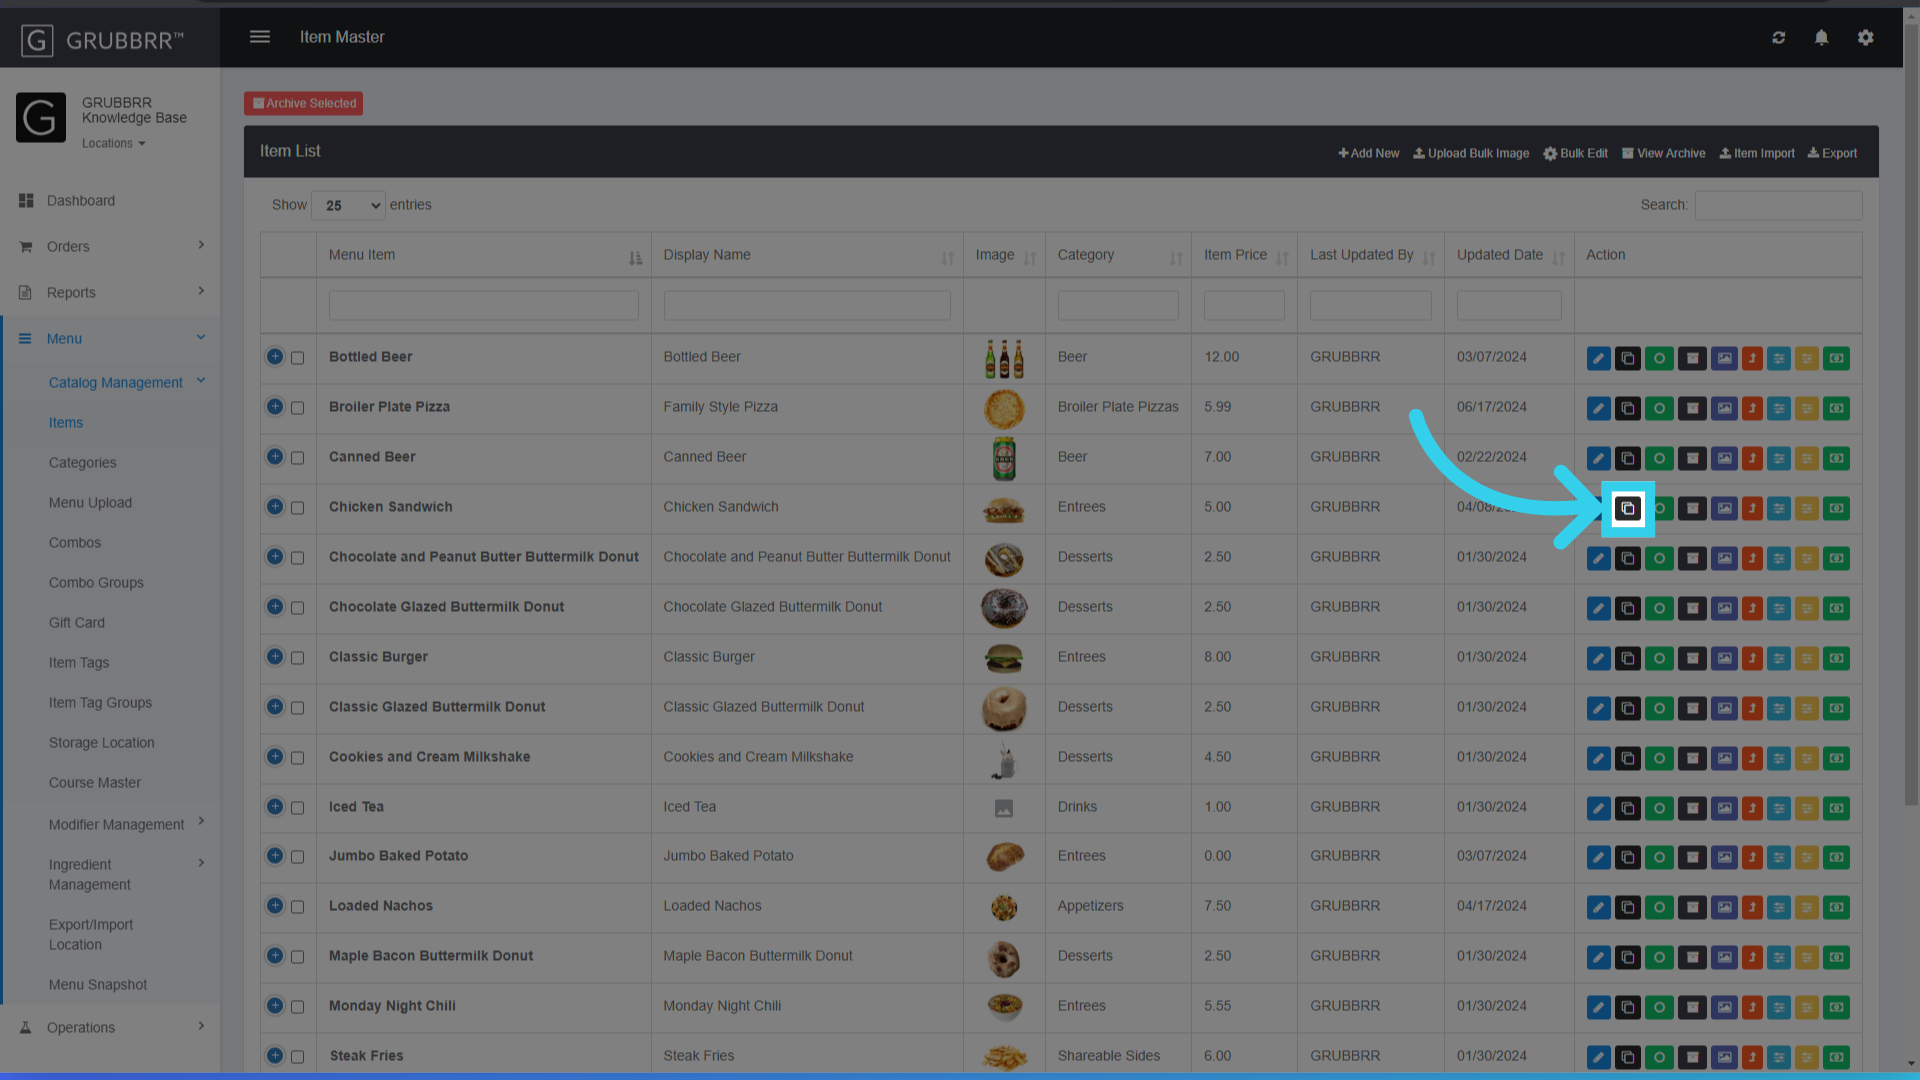
8. Click "Clone" to duplicate the item in your menu
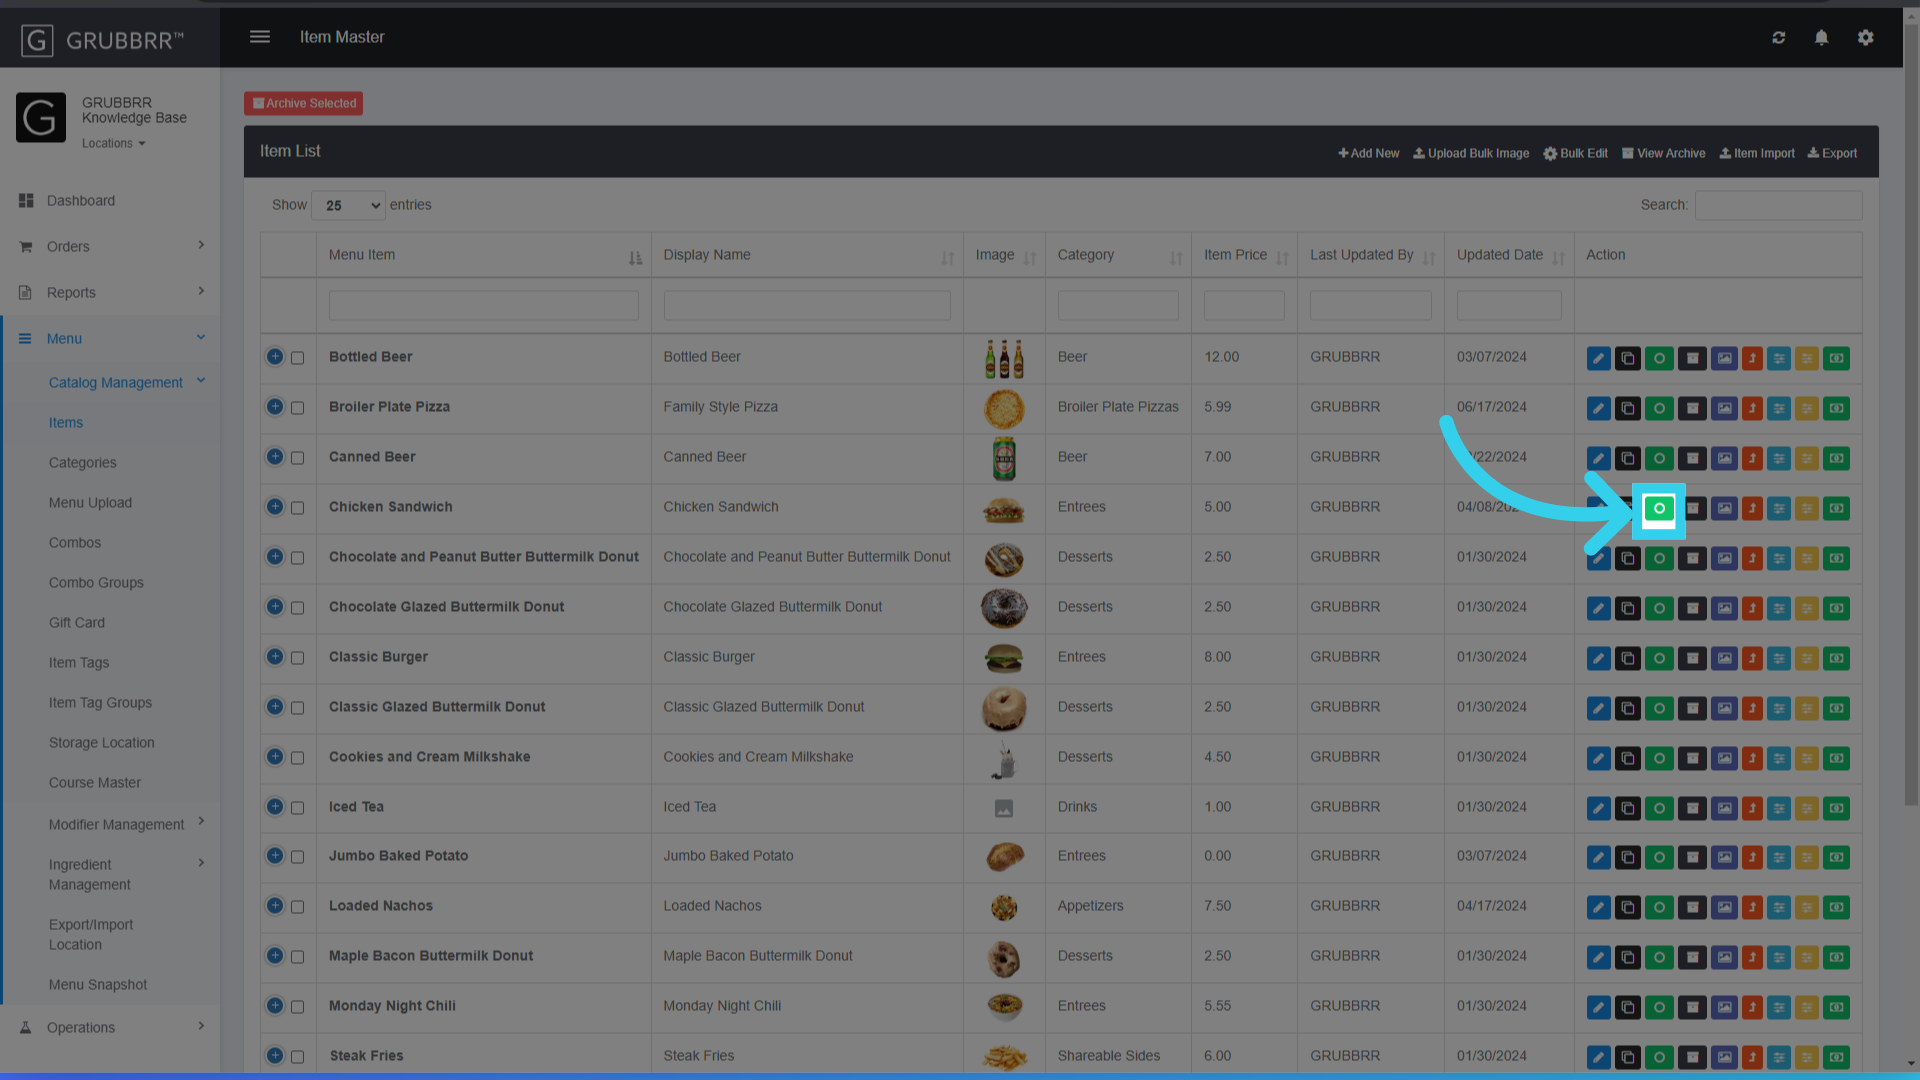
9. Click "Status" to mark the item as sold out or inactive on your Kiosk
10. "Archive" removes the item from your menu

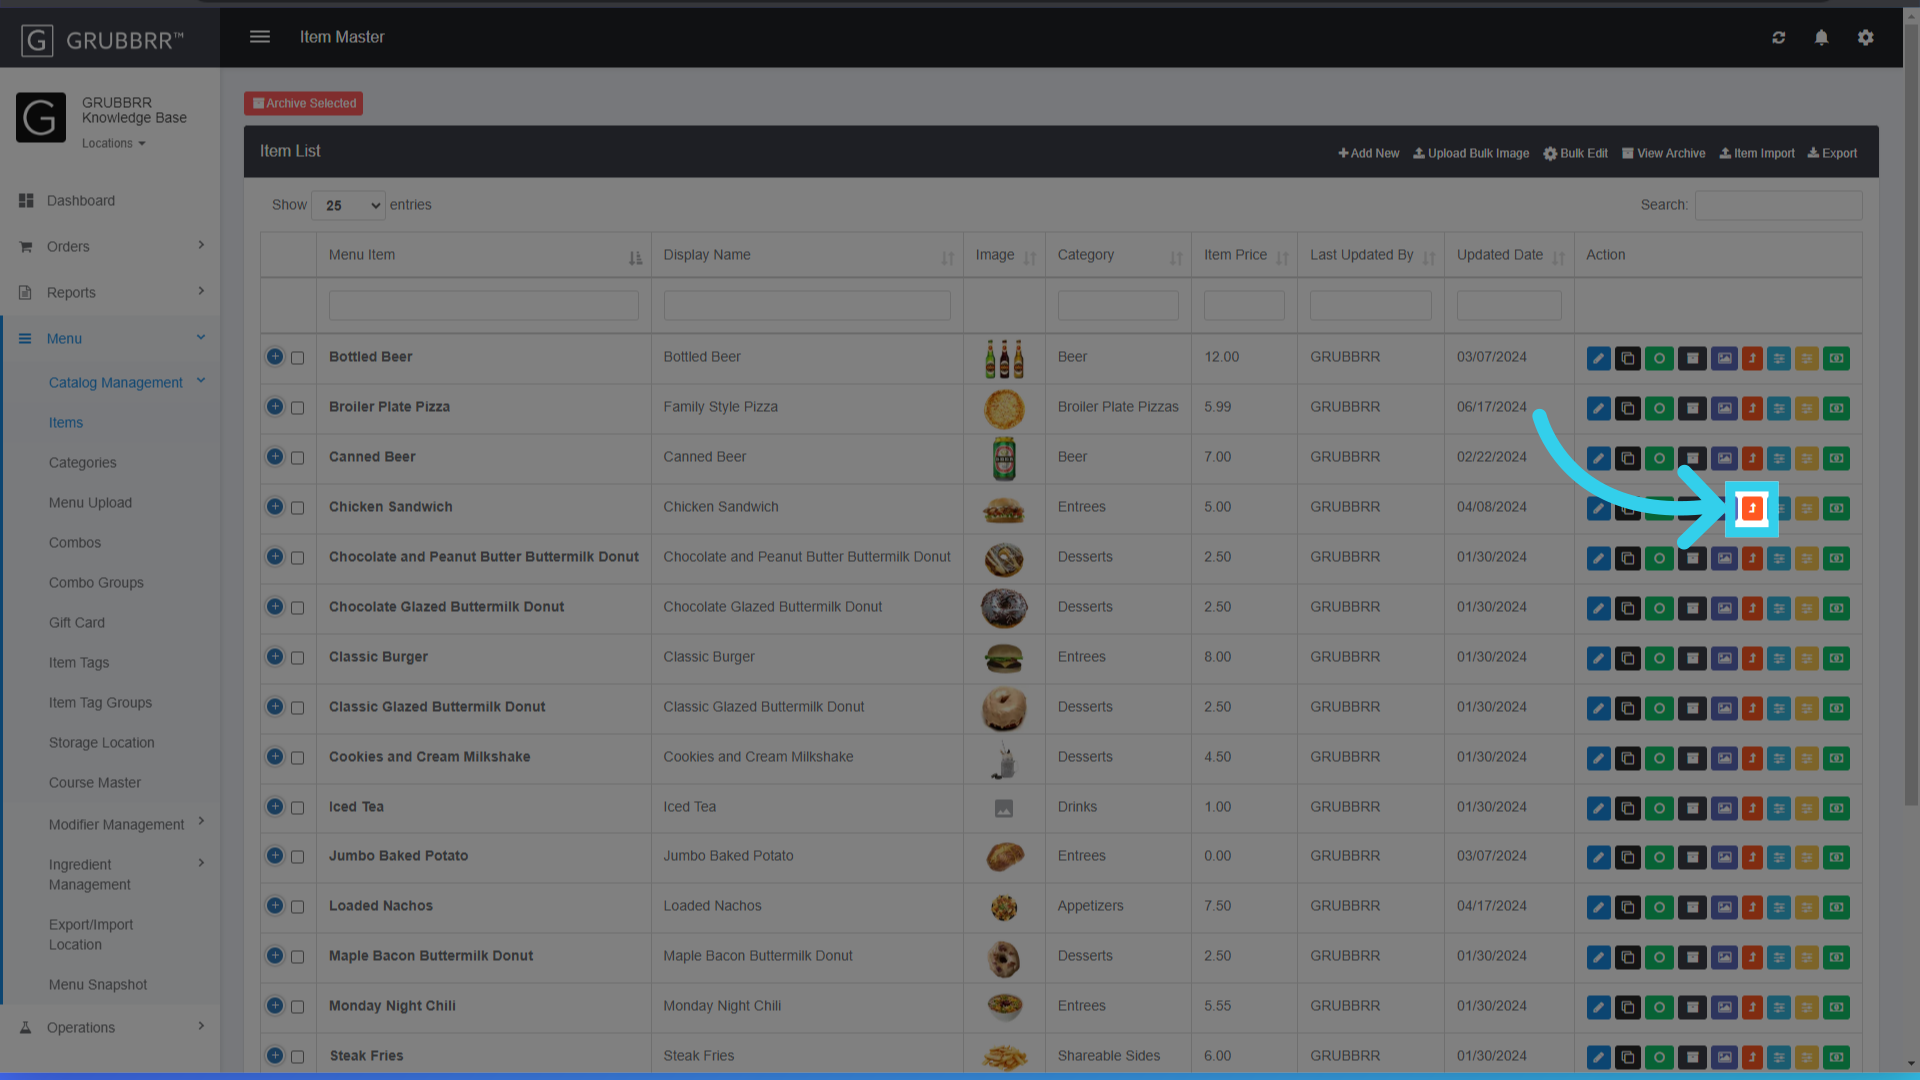
11. The "Upsells" icon allows you to create item-level upsells
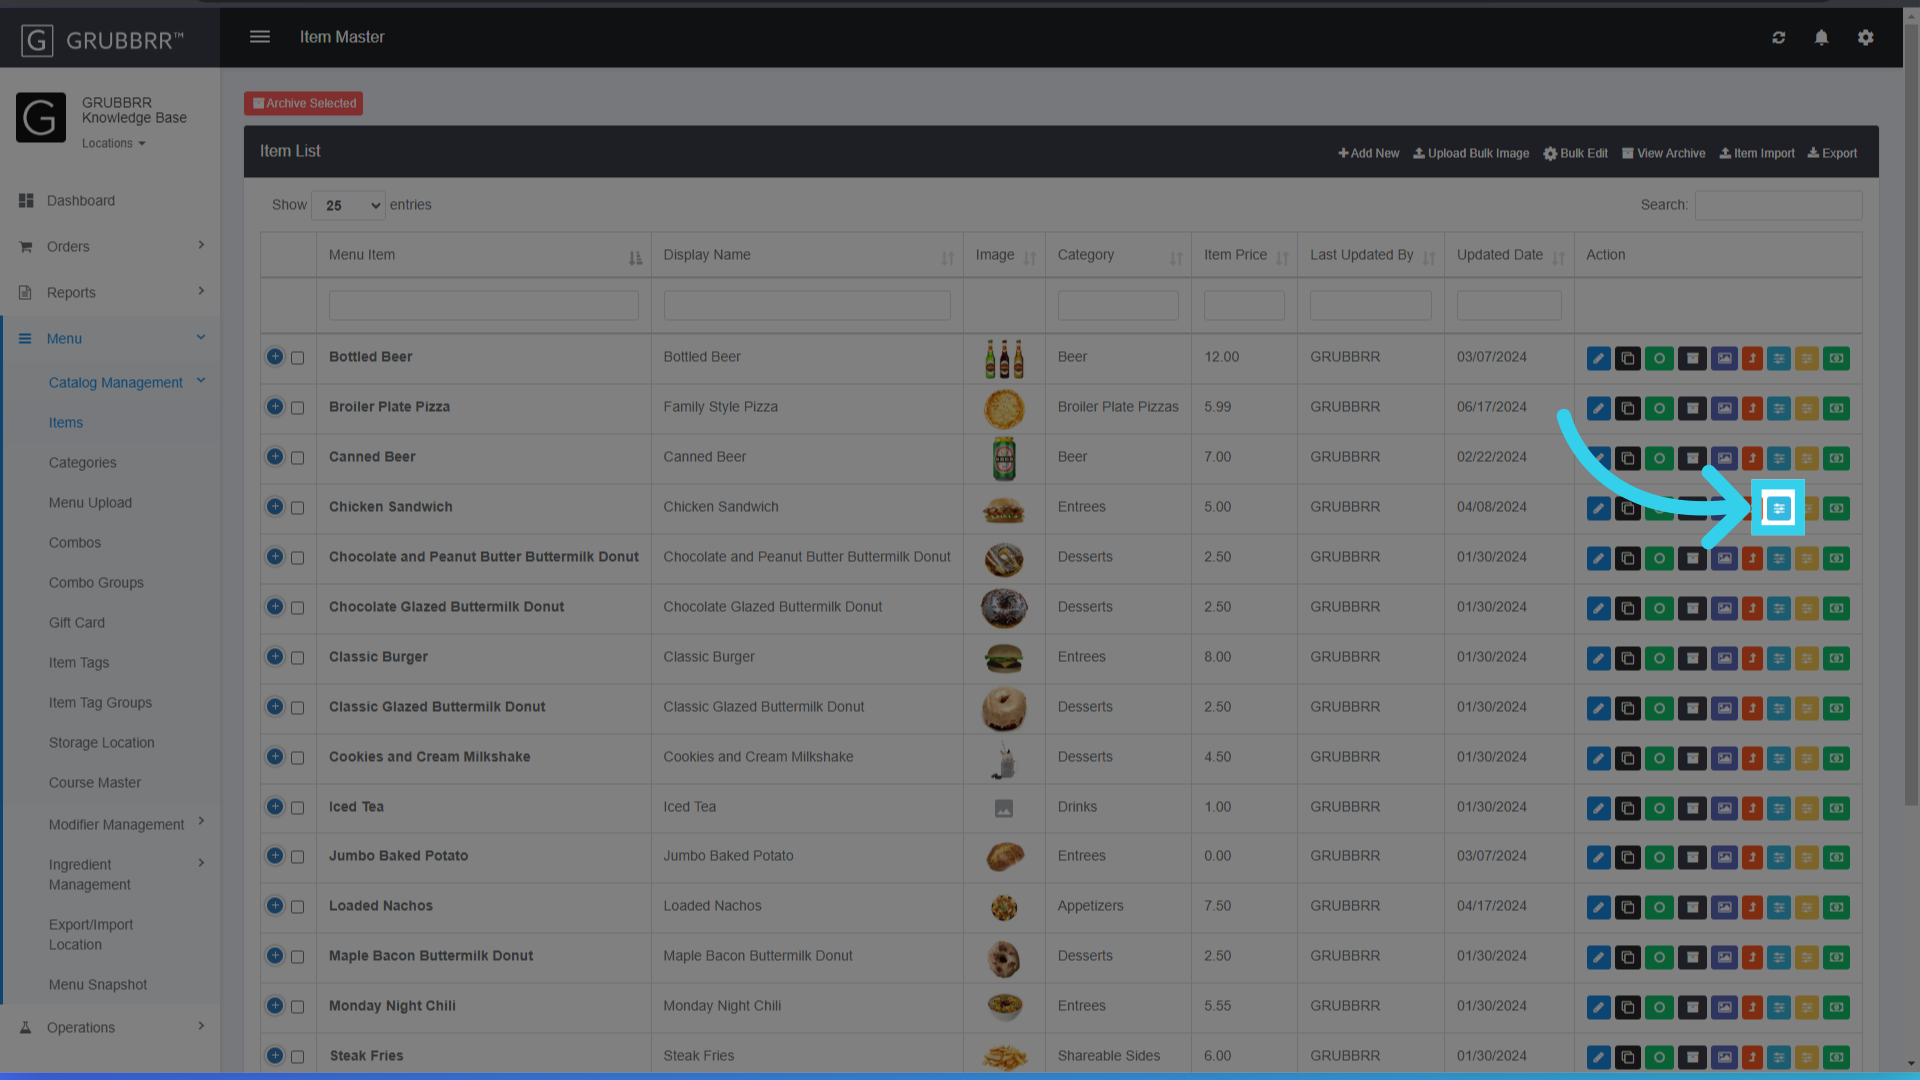
12. "Manage Modifiers" allows you to link modifiers to an item individually
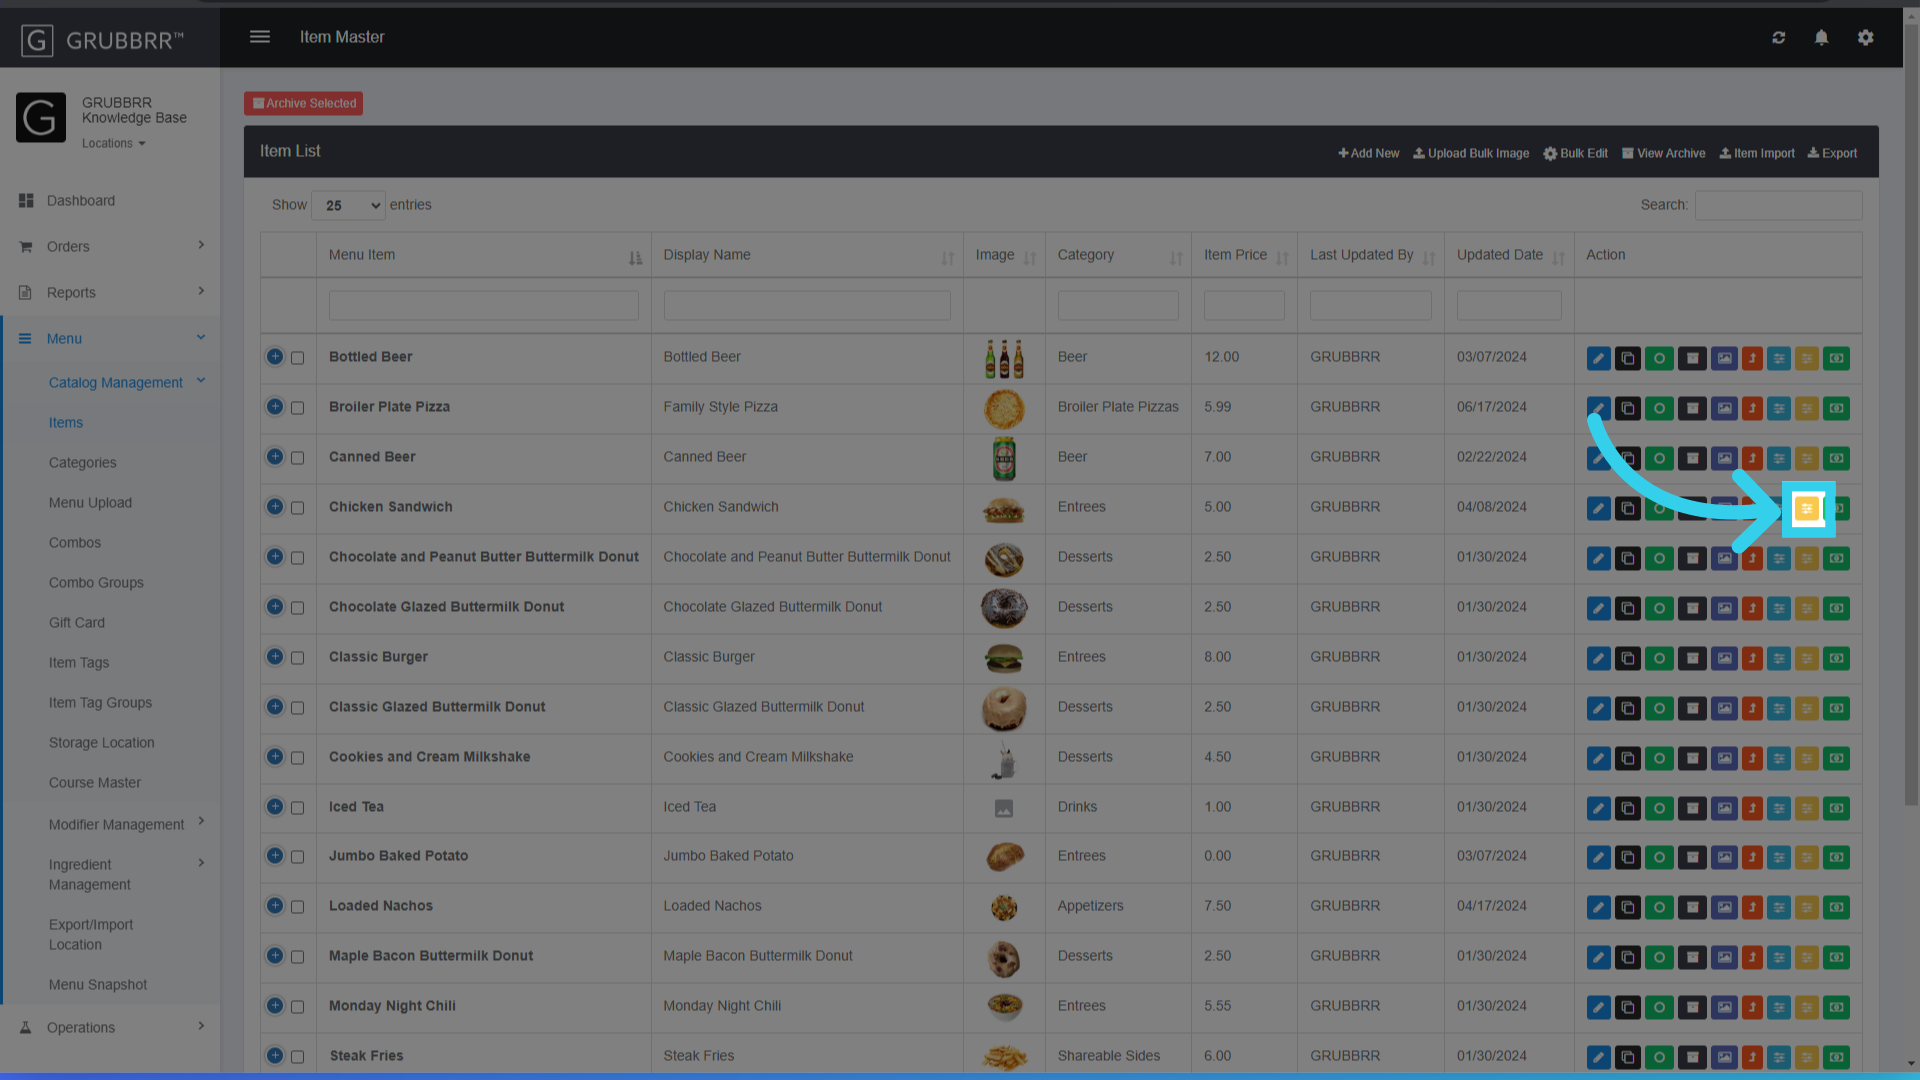
13. "Manage Variations" allows you to create size modifiers and pricing for your items
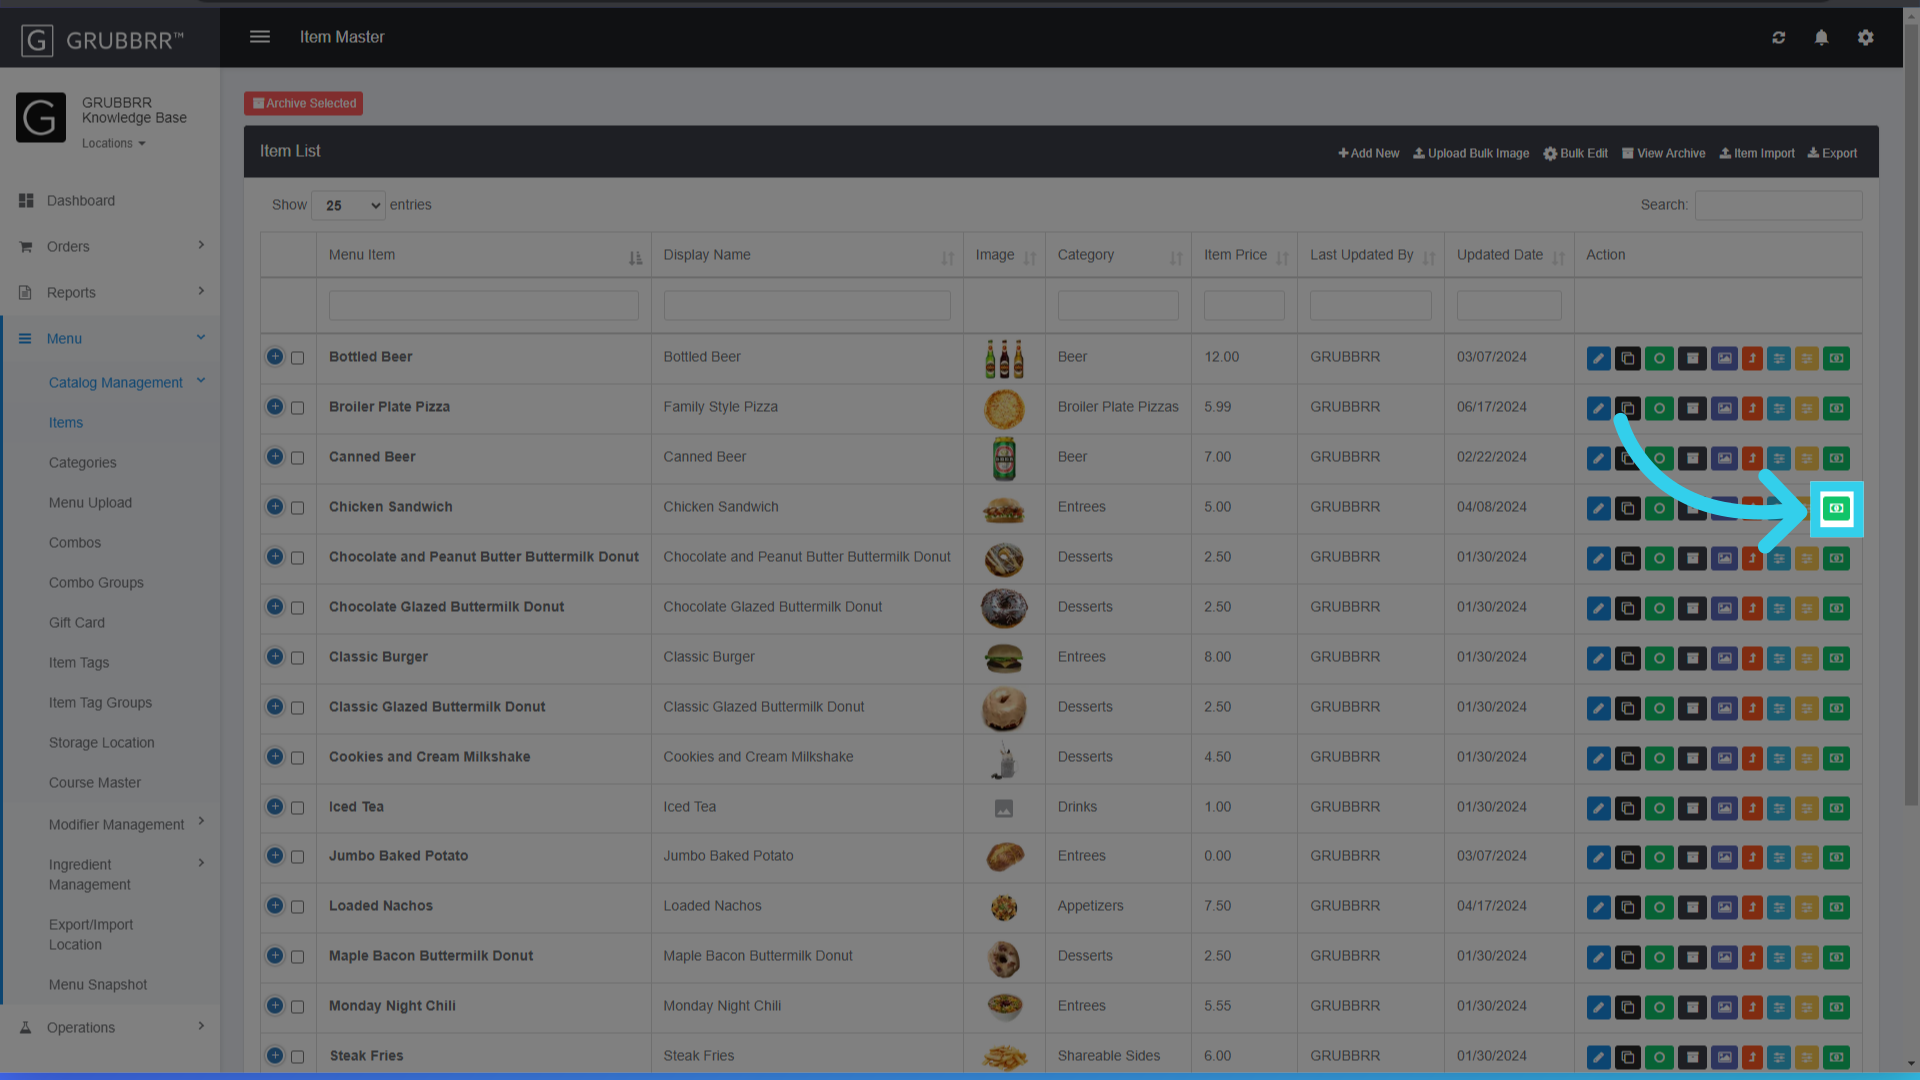
14. "Additional Pricing" allows us to assign different pricing tiers to an item
Creating and Editing Items
Now that we've examined the Item List and the settings we can edit there, let's take a look at the actual Item Edit page. This page offers a variety of changes, outlined below.
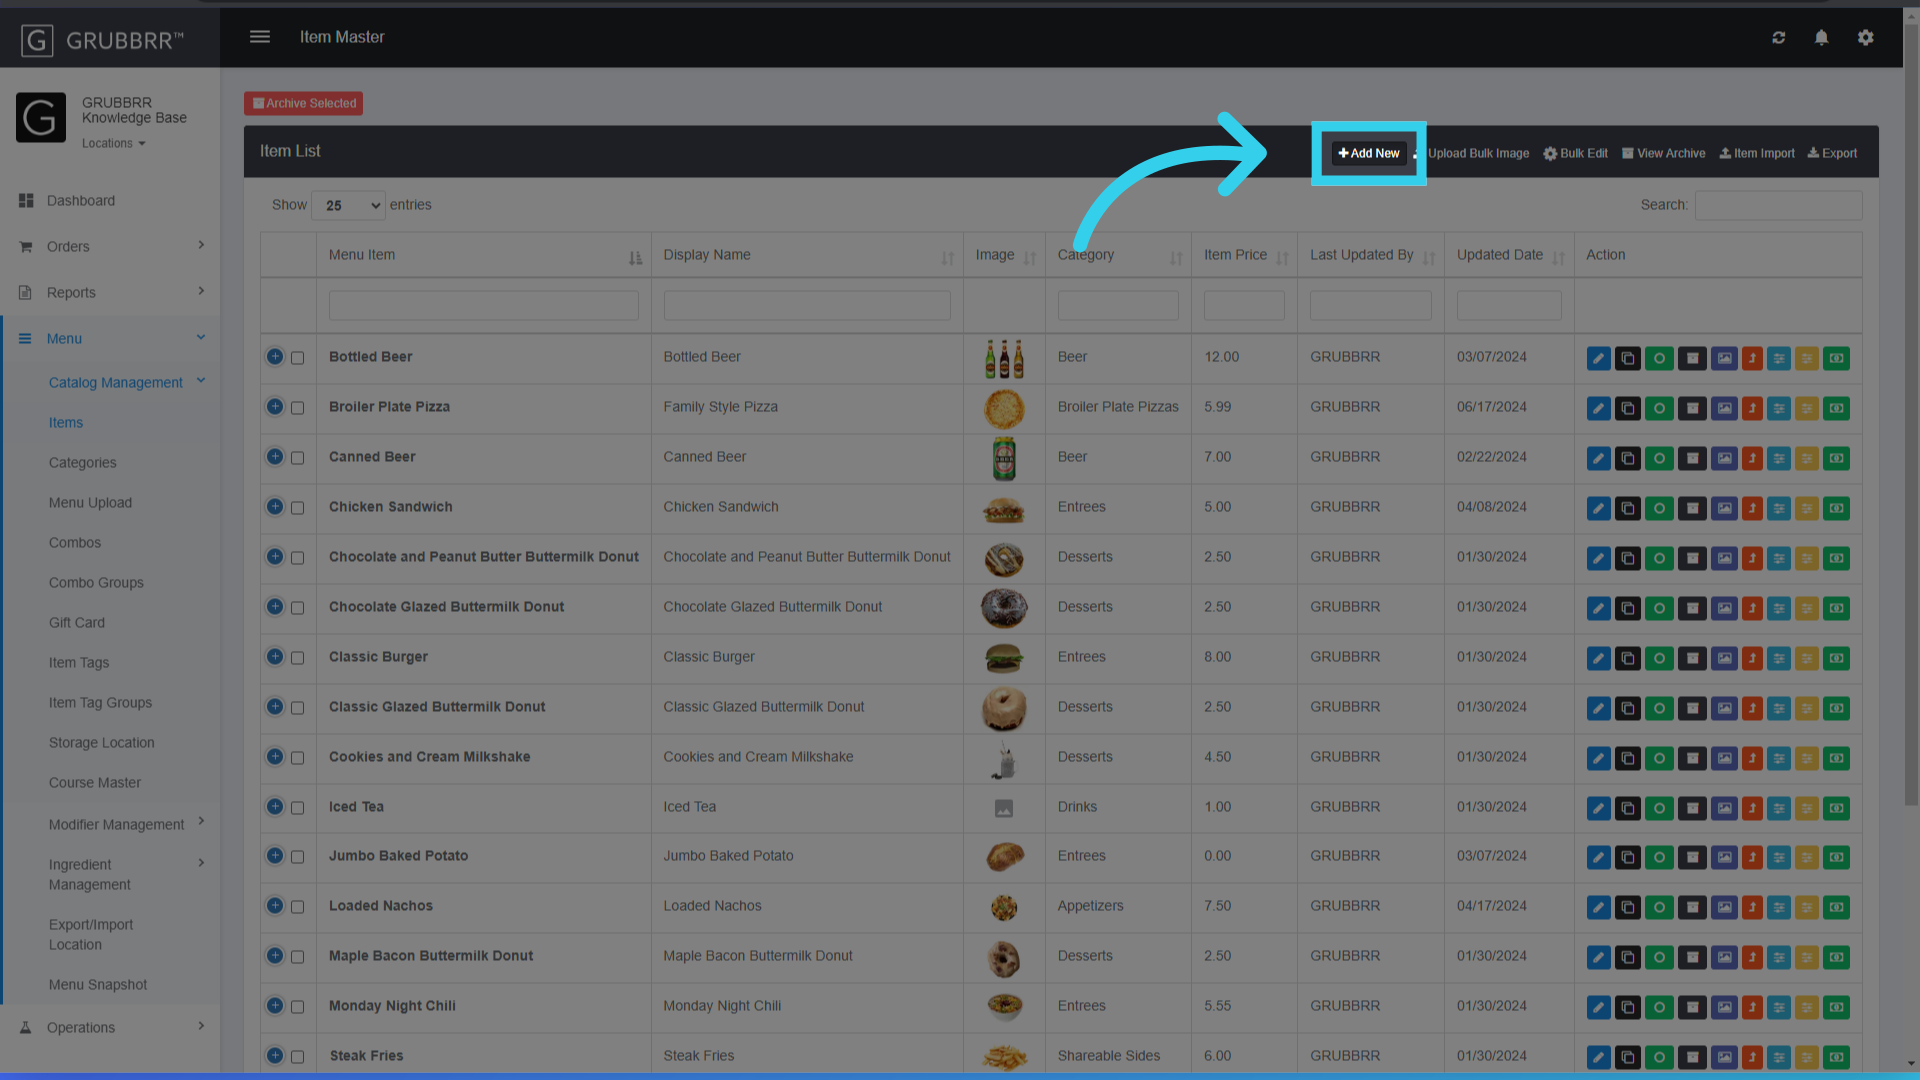
1. Click "Add New"
Or select "Edit" to update an existing item
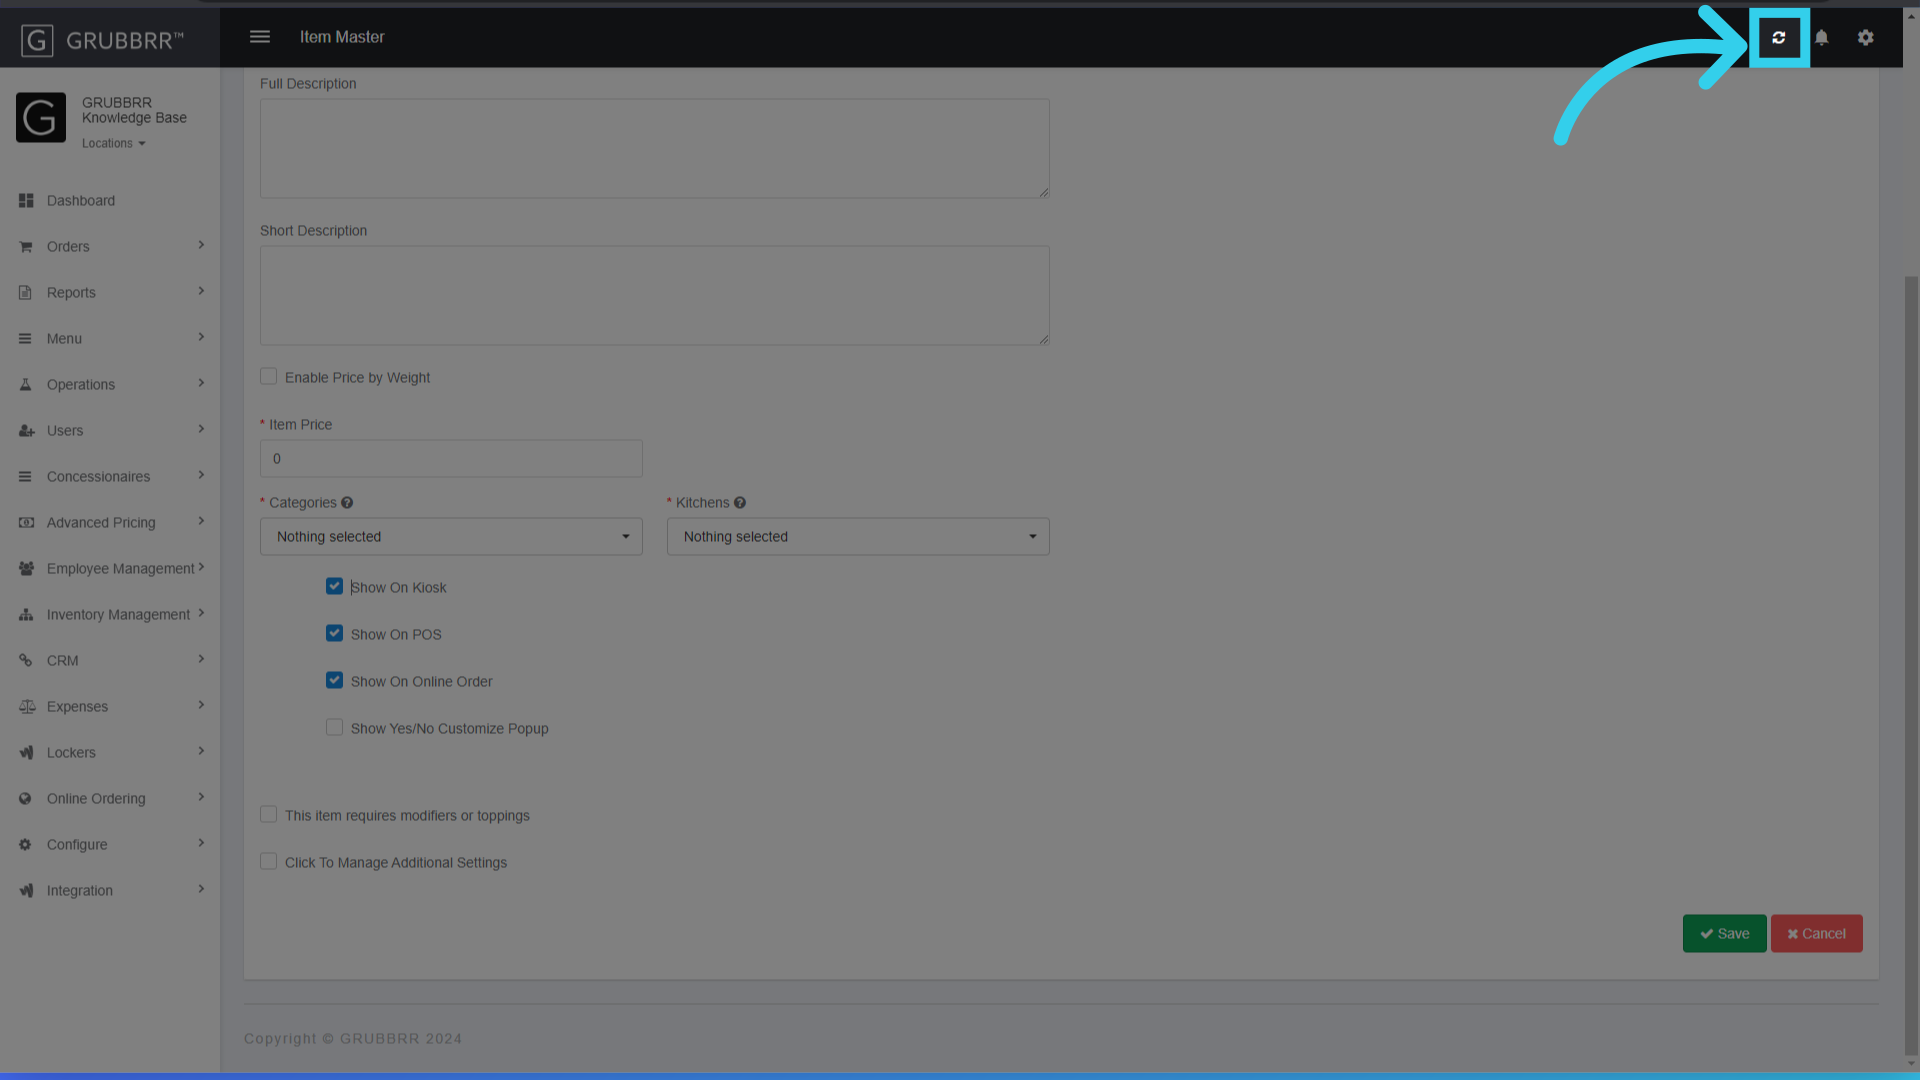
2. Give the menu item a name

3. Upload an image for the item

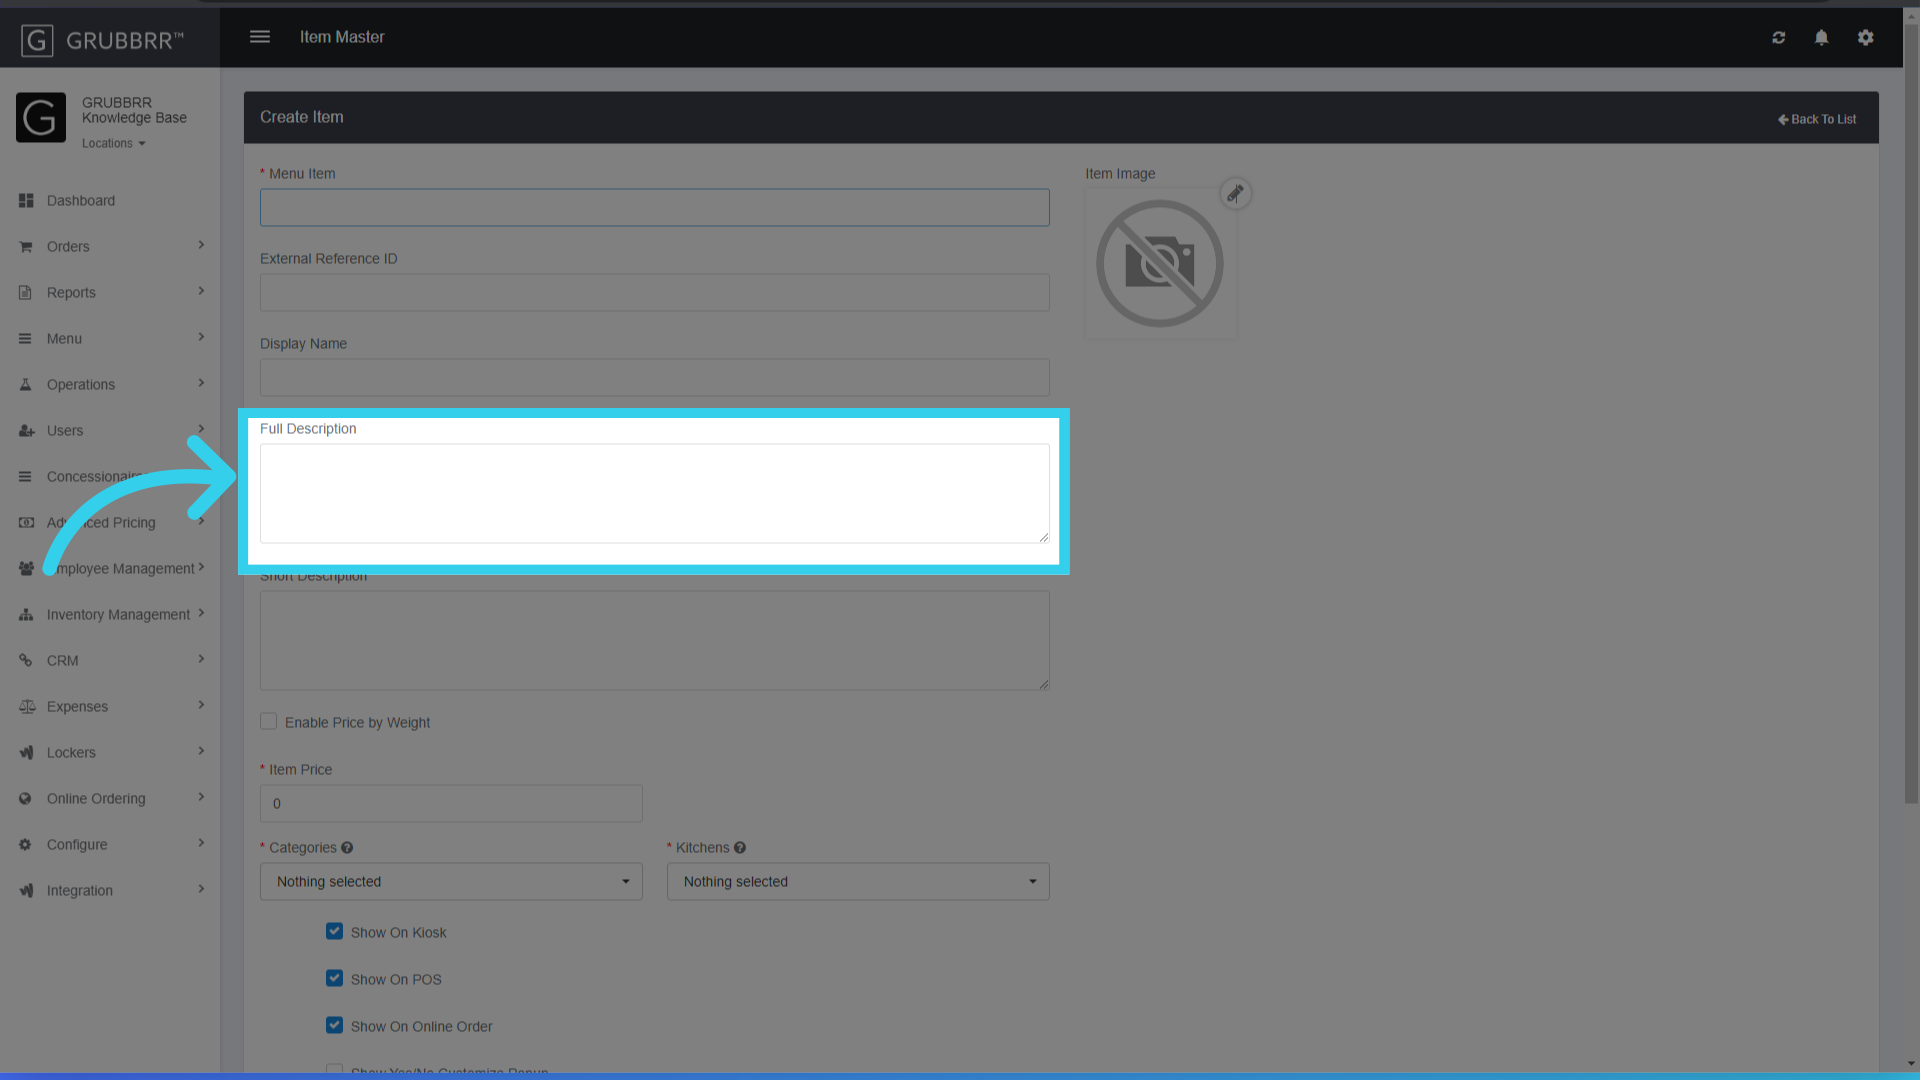
4. Write a short description of your item for guests
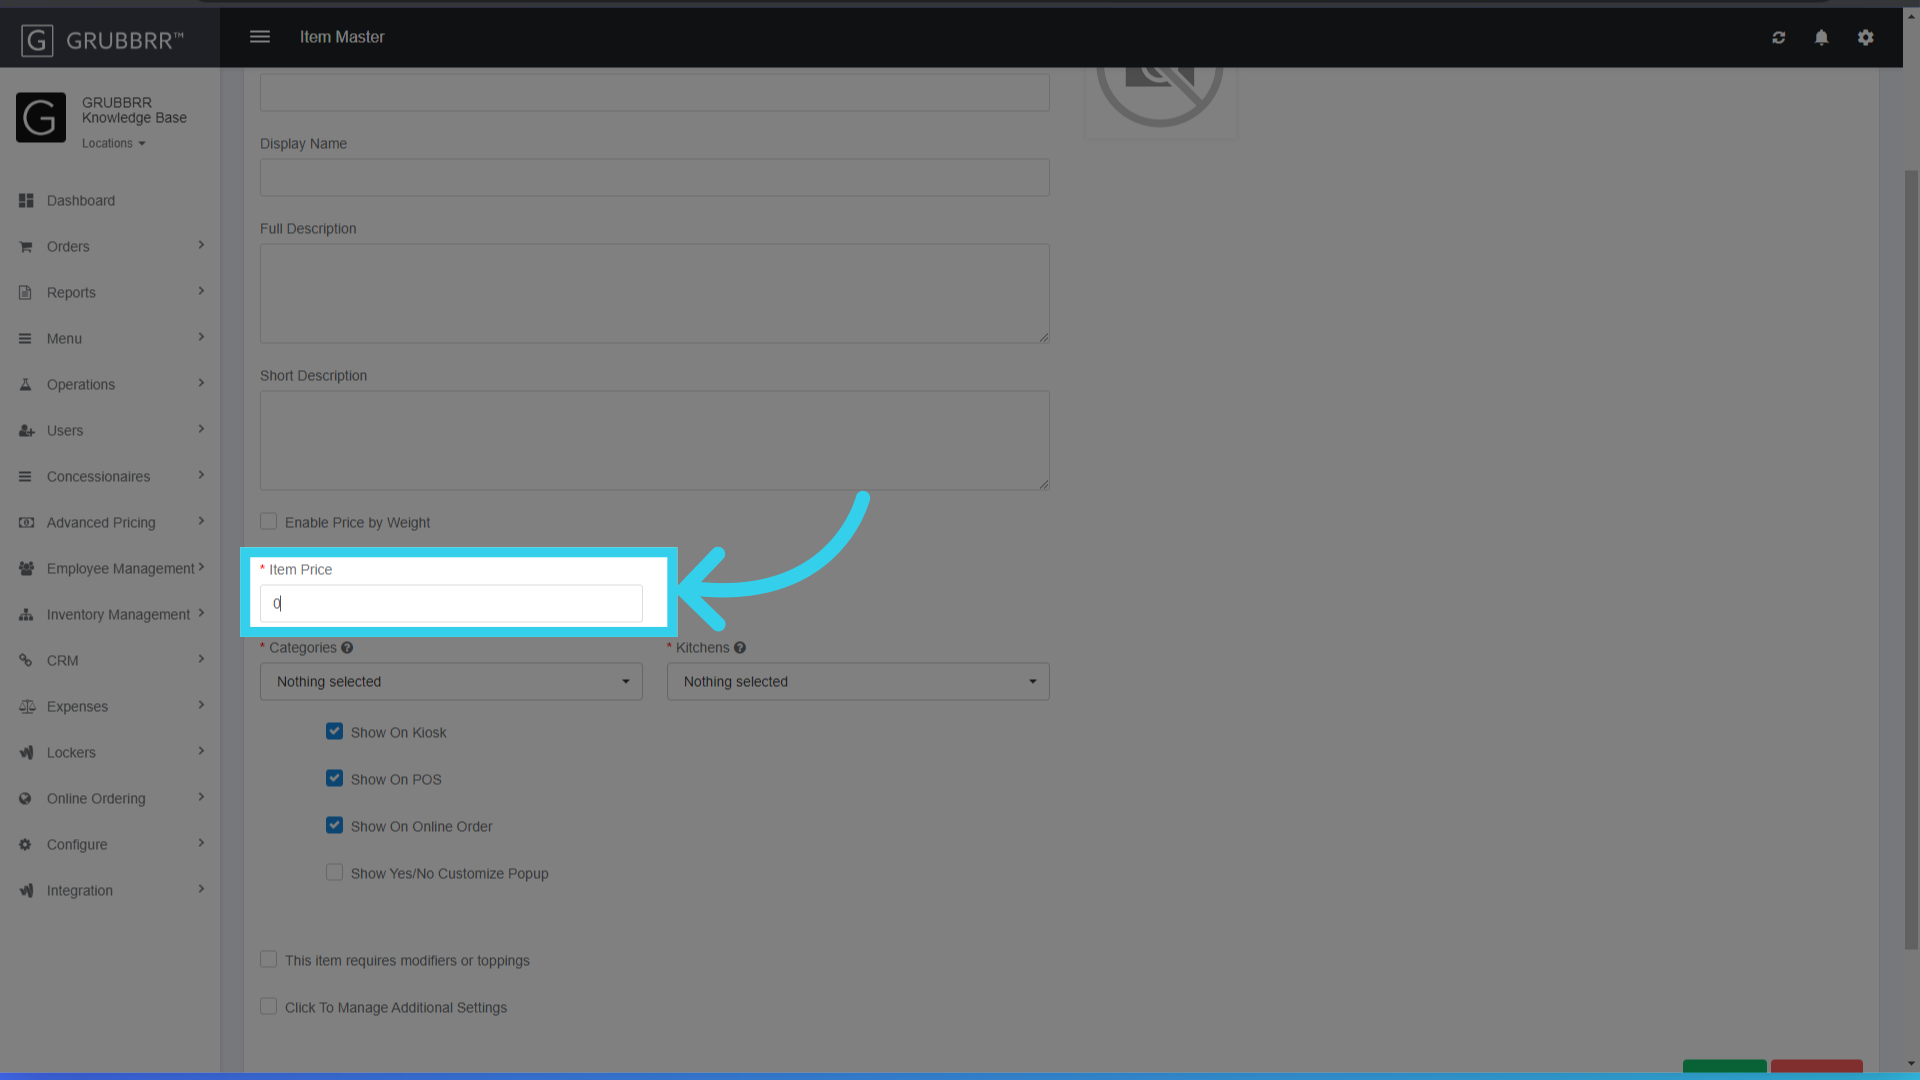
5. Enter the item's price
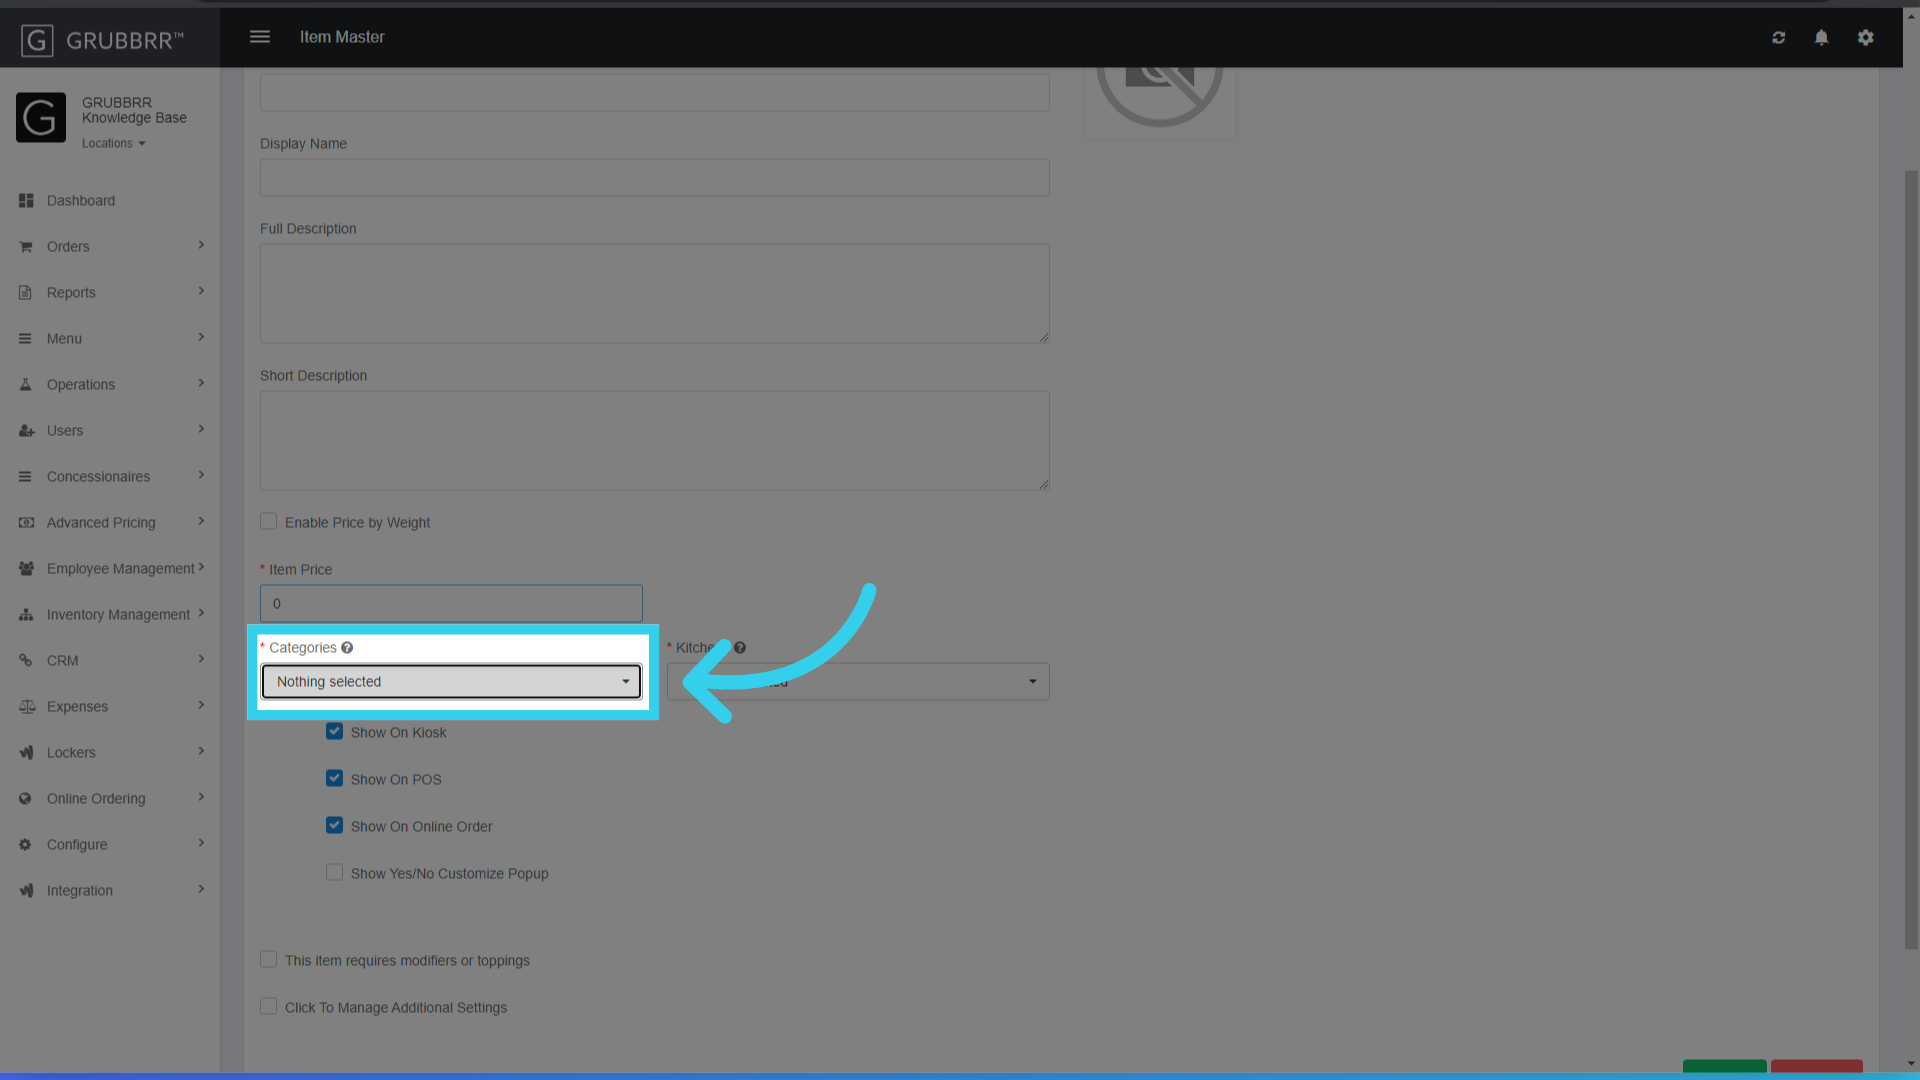
6. Map the item to a category
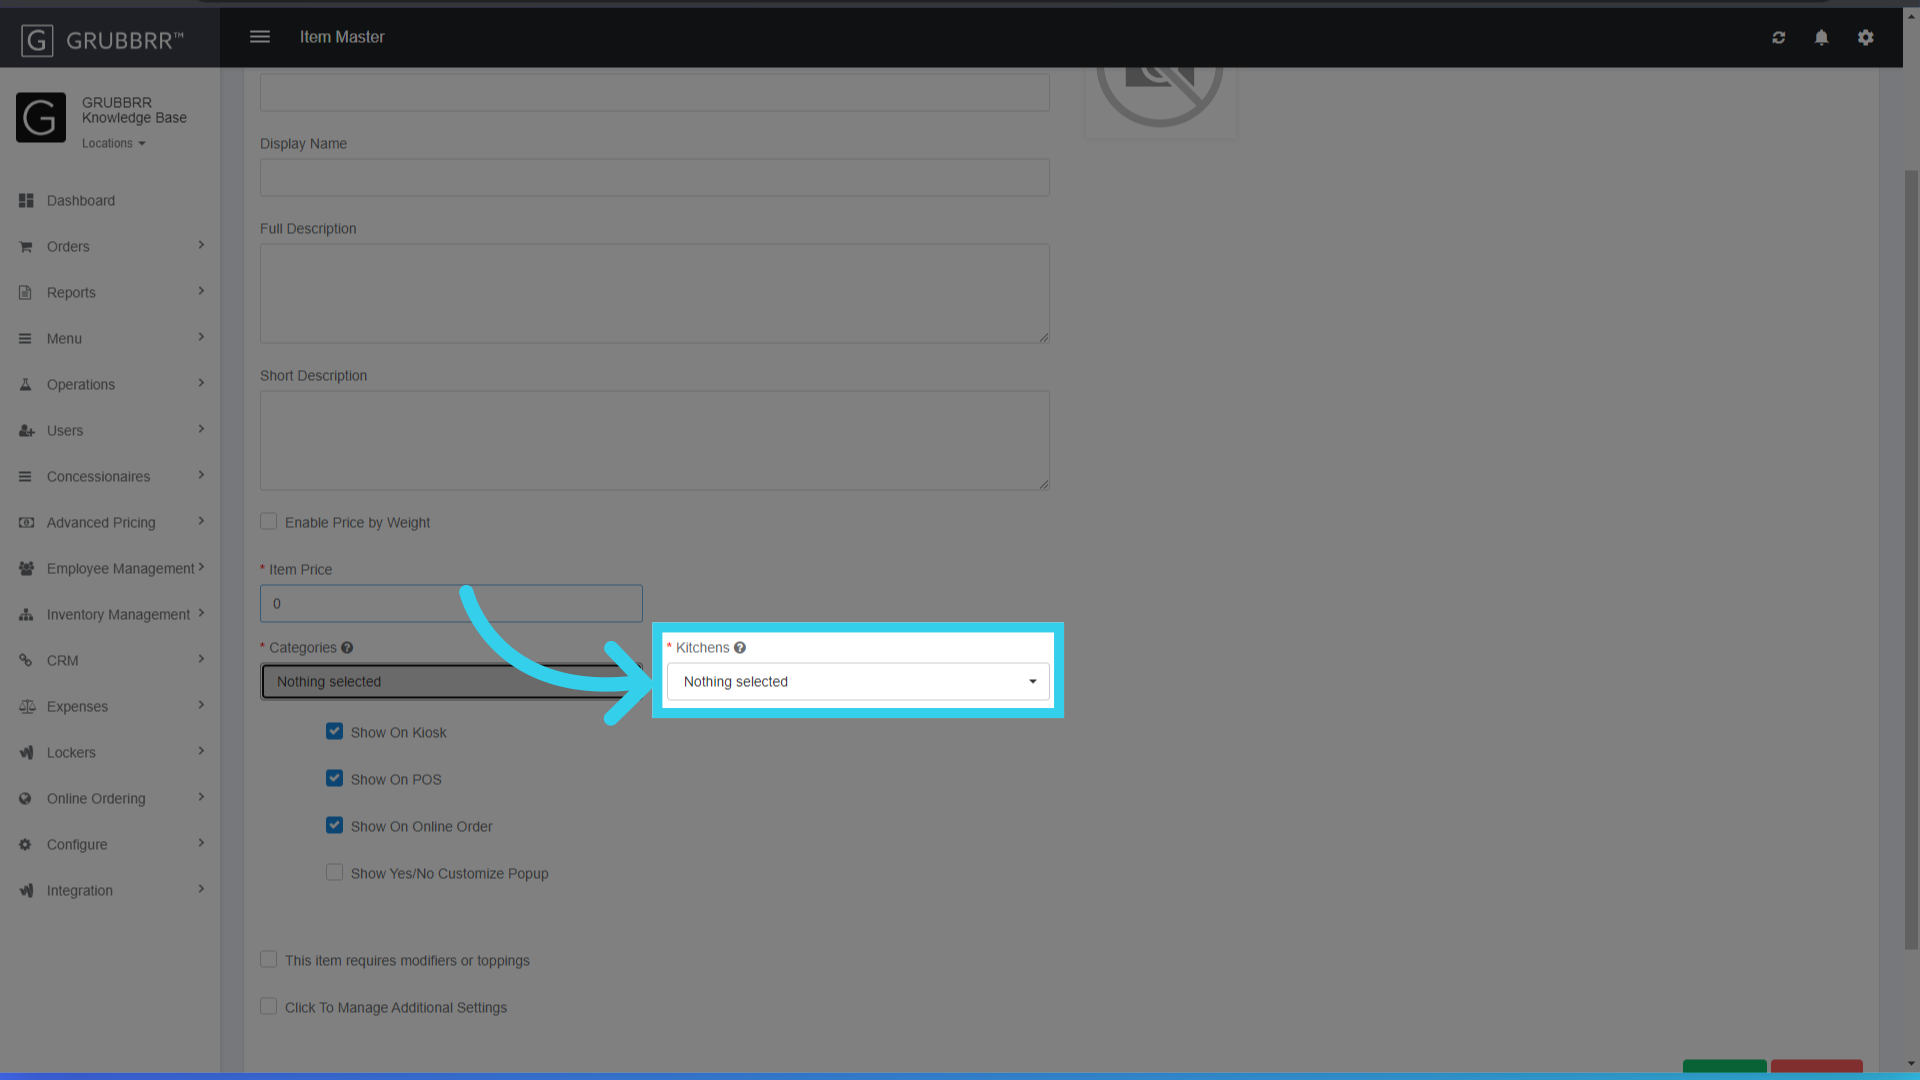
7. Map the item to a kitchen
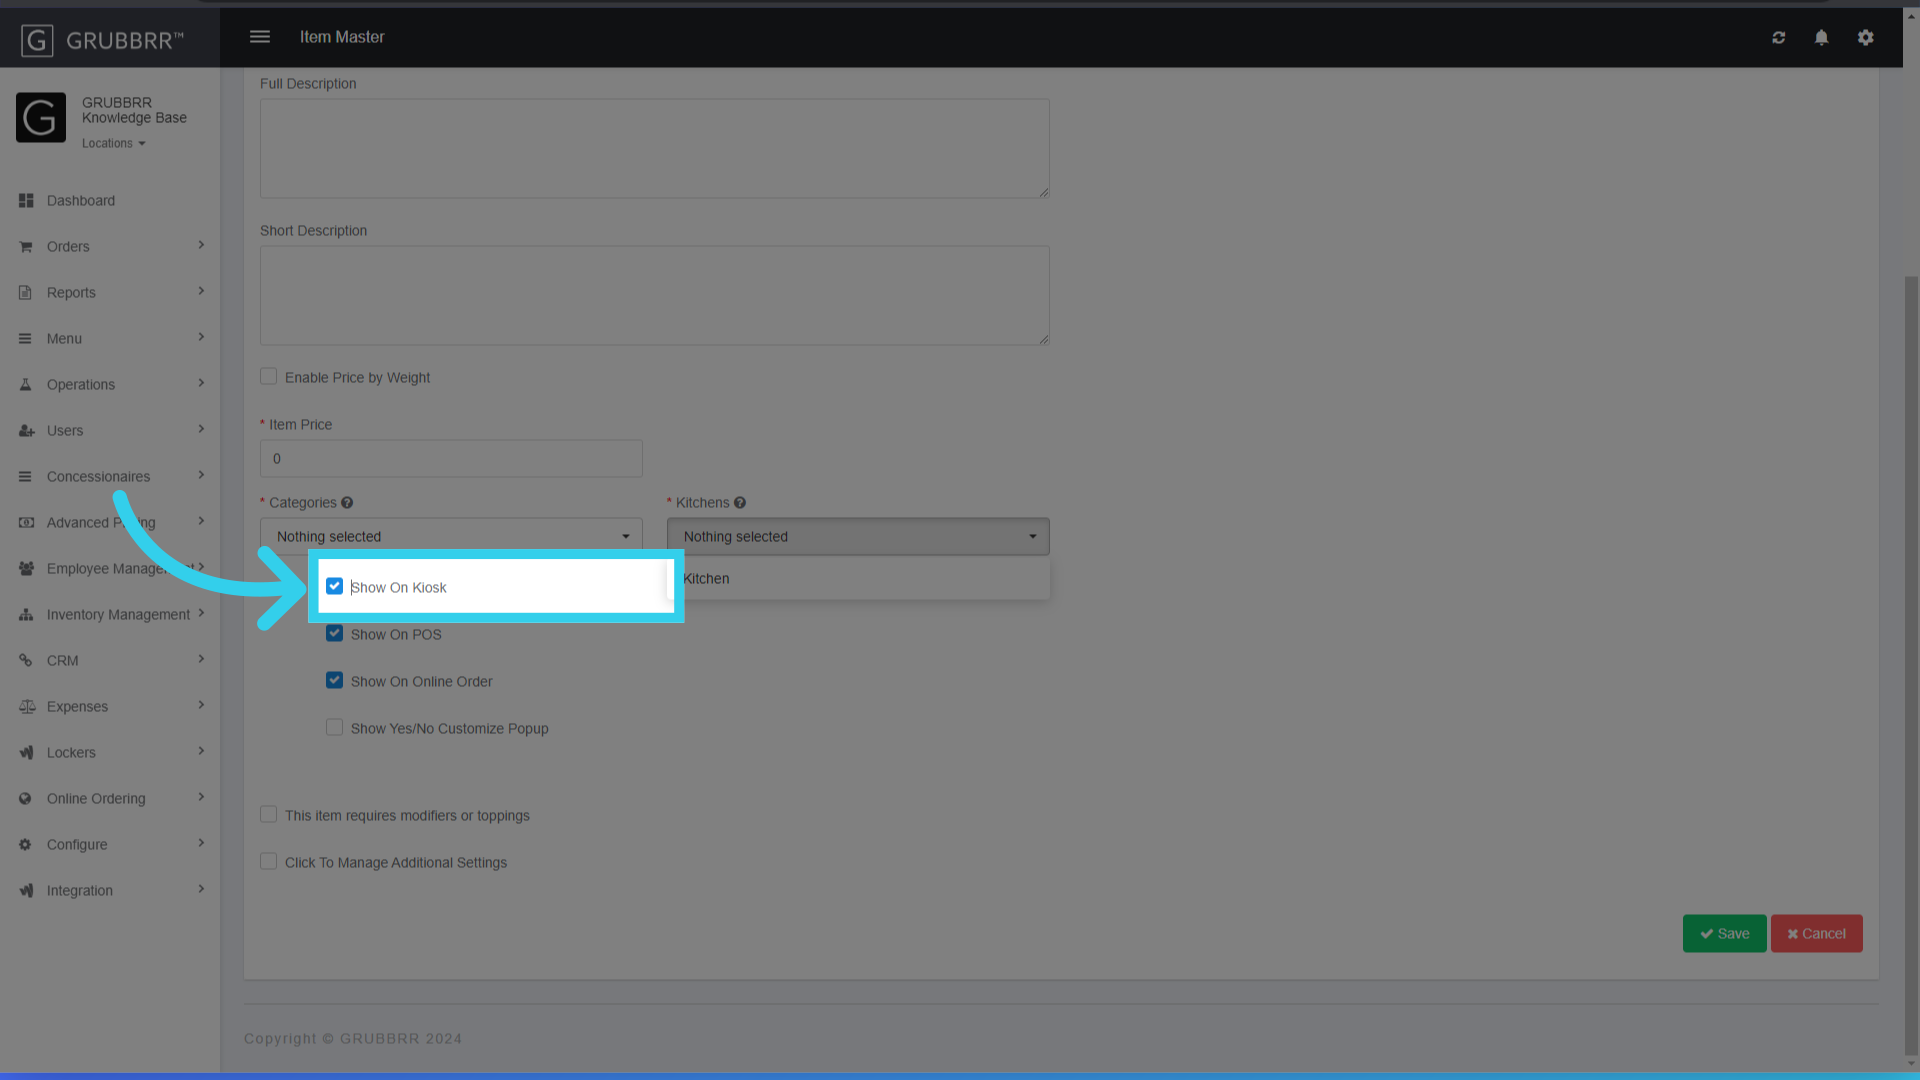
8. You can turn off the "Show on Kiosk" flag to hide active items from the Kiosk menu
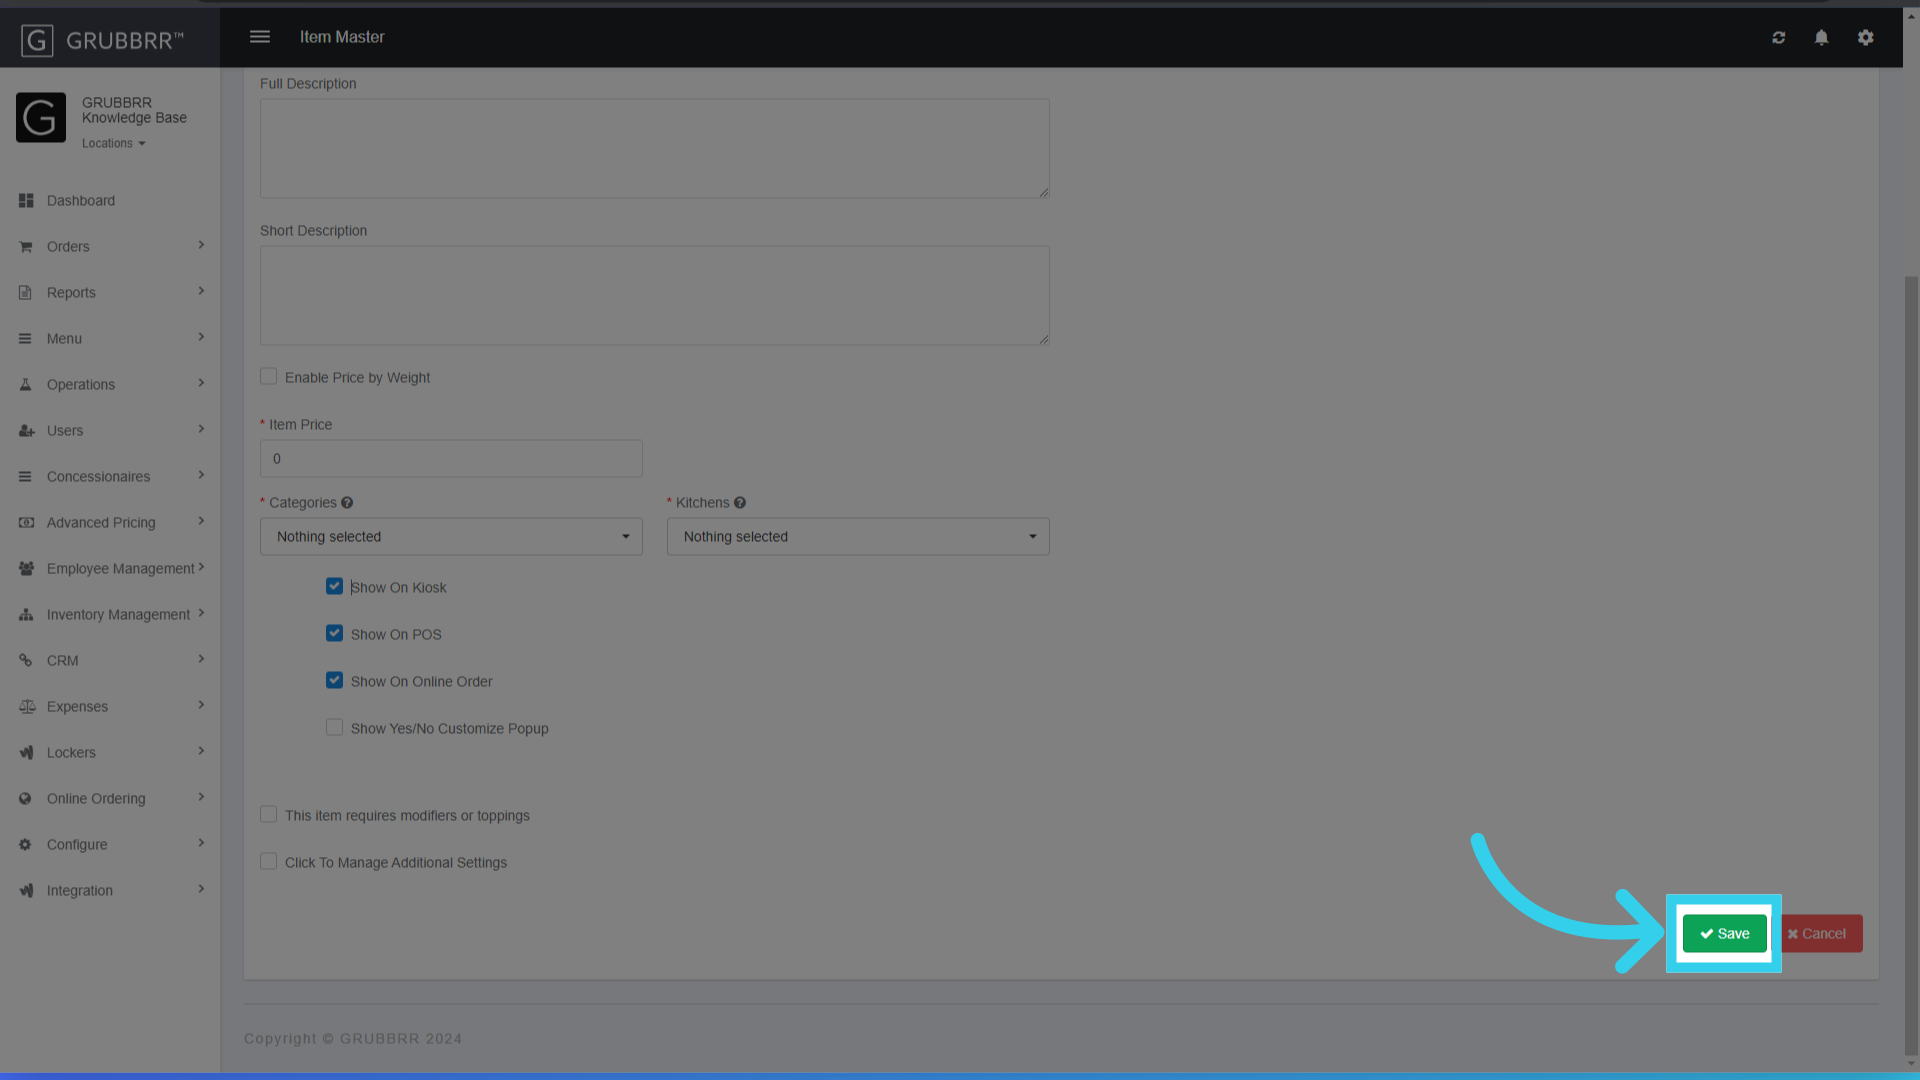
9. Click "Save" to apply your changes
10. Click "Sync" to push updates to your Kiosk